7 Tips for Building a Step Down Glass Block Shower Wall to Work with a Bench Seat or Tub Deck
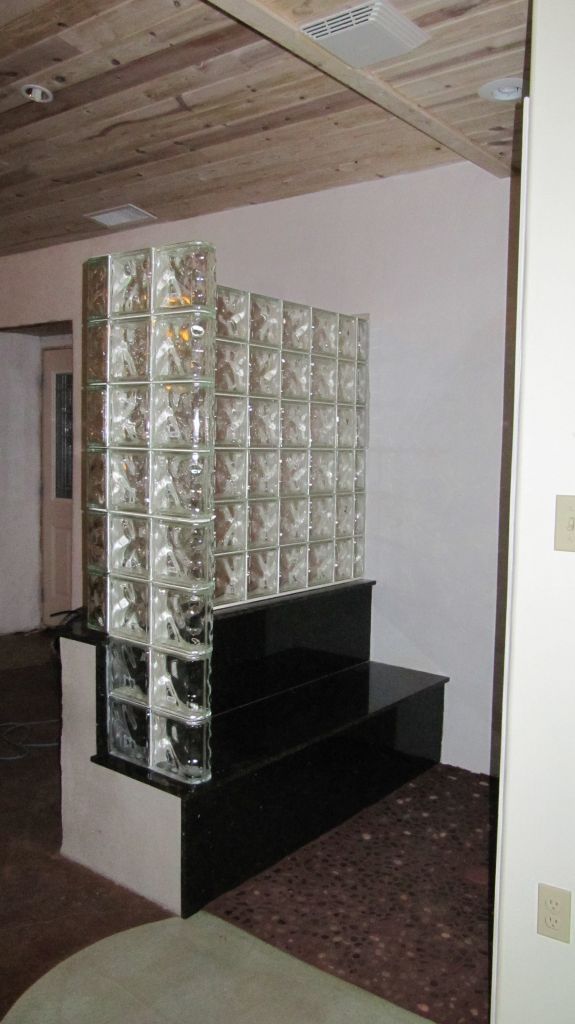
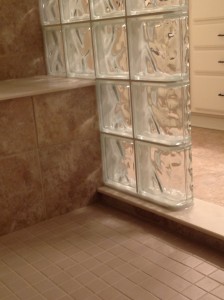
Glass block step down shower wall on a deck and bench seat
I’ve seen this problem way too many times – a shower bench seat or tub deck built before the potential customer thought through the glass block step down wall design. Since glass blocks cannot be cut like a custom frameless glass enclosure the height, depth and pitch of tub deck or bench seat should be designed with the glass blocks in mind.
The article below will identify 7 key construction and design considerations for this type of project.
Tip 1 – Determine the height of the bench seat or tub deck when stepping down to the shower curb – Since most glass block walls are completed with product called a “finished end block” (which are only available in 8” high increments) the distance (height) you’ll usually want your bench or deck to be before it “drops down” to the shower curb will usually be 16” (or the height of two finished end blocks).
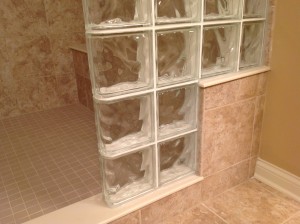
Tip 2 – Either use “no lip” on the bench seat or “notch out” the finished seat cap material to accommodate the blocks – When you “step down” a wall (i.e. it drops down a number of courses) you’ll need to be careful if your bench seat has a finished edge which extends beyond the seats framework. The challenge finished edge will present is it can cause inconsistent joint sizes in the block coursing. The solution to this challenge is to either design without an edge (bases made of expanded polystyrene can make this process very easy) or if you’re going to use a seat cap with an edge you’ll need to “notch out” an area equal to the width of the glass blocks.
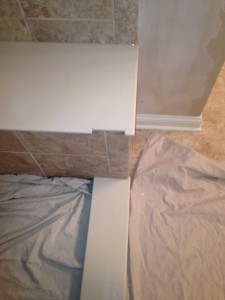
Tip 3 – Design in 2” increments – The glass blocks used primarily in showers (and ones that work with end, curved and angled shapes) come in 4 x 8, 6 x8 and 8 x 8 sizes. You’ll want to design the depth (or width) of your wall in 2” increments. For example a 16” deep bench seat will layout much better than a 17” bench seat. A tub deck that is 32” long will have joints that layout more uniformly than a 33” size.
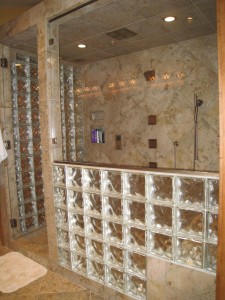
Tip 4 – Minimize the pitch of the bench seat– While it is good to put a slight pitch on a bench seat to direct water to the drain of the shower base – too steep a pitch will force the bottom joint on the bench seat to have a larger triangular shape to keep the blocks looking consistent.
Tip 5 – Use prefabricated glass block wall assemblies – A step down wall is more tricky to lay than a straight wall which does not have a “step” feature. You can ensure consistency, have smaller 1/8” grout joints, and reduce the labor hours of your project using premade panels. These panels will be easiest to work with by using a vinyl stacking and anchoring system.
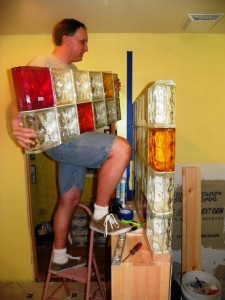
Tip 6 – Have fun in your design– Don’t settle for a boring design. Consider combining different sizes of blocks to make a pattern, or throwing a splash of color or even a frosted glass block accent. This is not your grandfathers’ glass blocks any more!
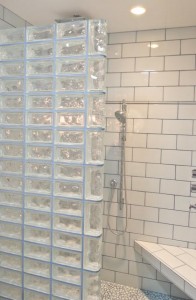
Tip 7 – Get help – Sometimes doing a new project can be daunting – but it doesn’t have to be. Make a call or research on the Internet companies which specialize in glass block design, prefabrication and have unique products you can’t find in your local market.
What do you think about these 7 tips for a step down glass block wall design? Please comment below.
###
To learn more about glass block shower walls or get a free estimate on a project visit or call Innovate Building Solutions on a nationwide basis (877-668-5888) or for a local project their divisions including Columbus Glass Block (614-252-5888), Cleveland Glass Block (216-531-6363), West Side Glass Block (216-398-1020) or Mid America Glass Block (513-742-5900) of Cincinnati or Dayton and Akron (330-633-2900).
