5 1/2 Rookie Mistakes DIY’ers Make Remodeling a Shower (and how to prevent them from happening to you)
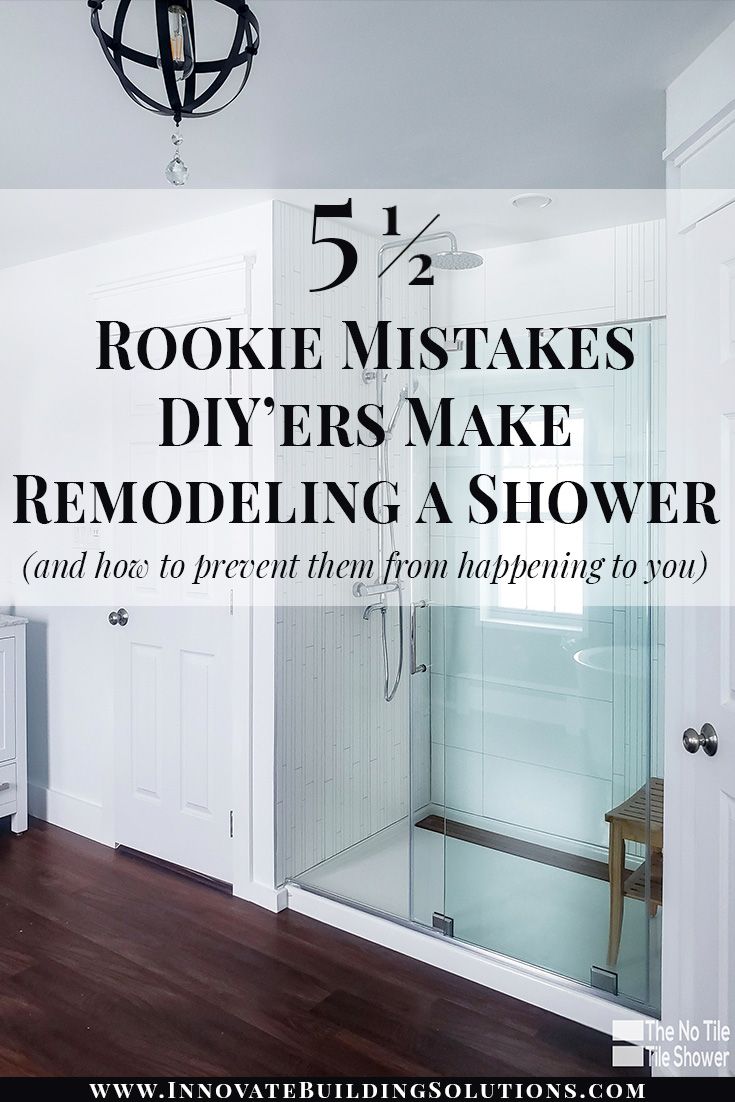
The saga of a DIY shower remodeling job gone wrong
It sounded like a good idea in the beginning. You were determined to save money. Everyone knows you’re a bit frugal (OK – if we’re being downright real, you’re more than a bit cheap – saving money is practically religion for you). So, you took on remodeling your shower.
Now, however, you’re living in the muck of the ‘never-ending-shower-remodel.’
Your spouse is hoppin’ mad. You’re hearing the constant chirping how you should have hired a pro (even though the best contractor in town was soooooo busy they couldn’t start for 4 months). It hasn’t been any fun sharing your kids messy cramped hall bathroom. It’s got to end soon…. doesn’t it?
You’ve made so many rookie mistakes. These mistakes have gobbled up your time and eaten into the money you ‘thought’ you were going to save. If you only knew 2 months ago what you know today. Your wallet would be fatter, and you would have put a bow on this job by now.
While you’ve never cried over spilled milk, you’ve certainly felt like crying over the lost dollars associated with this shower remodel.
But wait…there’s hope…if you haven’t started yet!
While taking on a do-it-yourself shower remodel isn’t as fun as Chip and Joanna make it look, and you know there will be unexpected ‘crap that hits the fan,’ I’ll tell you with a better planned project you can avoid the project from ‘H-E-double-hockey-sticks.’
Yes – I hear waaaaay too often the rookie mistakes you’ll read below. These problems DO NOT have to be your problems. You don’t have to watch (literally) your money going down the drain (Yes – bad bathroom plumbing pun intended).
As the cheesy commercial would say….
Don’t let this happen to you.
Below I’ll outline 5 ½ (and yes – you’ll have to wait until the end to see the ‘1/2’ tip) rookie mistakes I’ve seen with DIY shower remodels. However, more importantly dish up practical advice so you won’t repeat them and waste your time and money. OK – let’s dig into the tips.
Rookie Shower Remodeling Mistake #1 – You think pouring a tile shower pan is a good idea
If you’ve ever tried to DIY a mud set tile shower pan you know the questions and concerns come fast and furious. Did you set the drain too high or too low? Did you use the right mix of Portland cement and sand? Is your mixture too dry or too wet? Is your pitch correct, or will you see pooling water when you’re all done? Are you doing the right steps to waterproof the base? And here’s what you know is true…
The price of failure is HUGE!
A base gone wild (or wrong) can leak into the floor below. If this happens, you’ll have to tear EVERYTHING out and start from the beginning (again). It’s a hefty (and unacceptable) price of failure.
From my experience (and those of people replacing mud set shower pans done by ‘not-the-greatest-contractors’ or previous DIY owners who didn’t have a clue) the risk of ‘trying’ to do a mud set tile shower pan is not worth the ‘expected’ (if you do everything right) return.
There are better shower base options which looks great and you’ll feel confident won’t bite you in the butt later. Here’s 3 to check out:
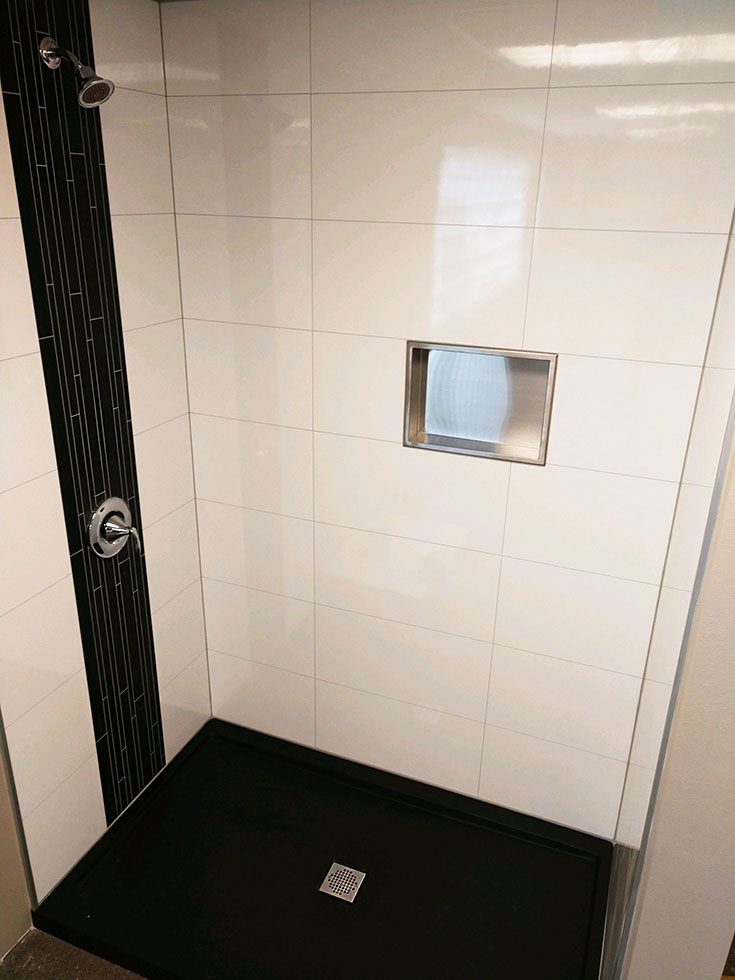
- Option 1 – Contemporary reinforced acrylic shower pans – For standard sized showers these pans (literally and figuratively) are a strong choice. They are made in fun shaped designs and don’t require a mortar bed because they are reinforced under the top acrylic layer with multi-density fiberboard (MDF).
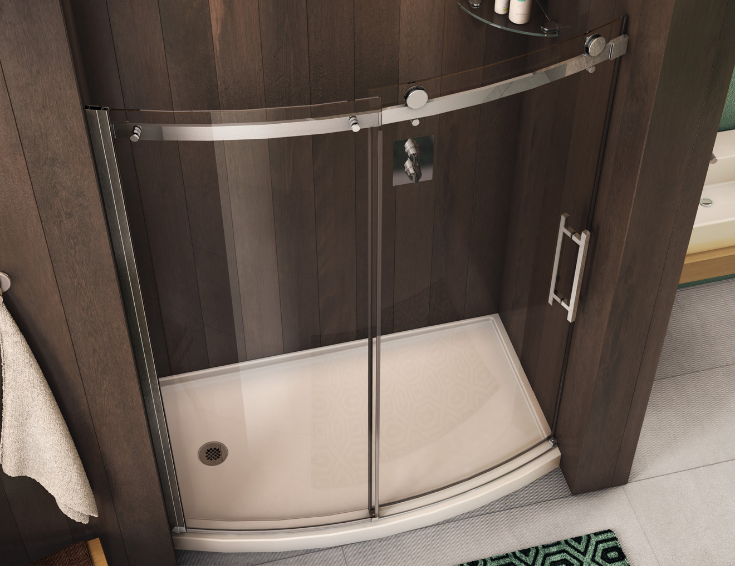
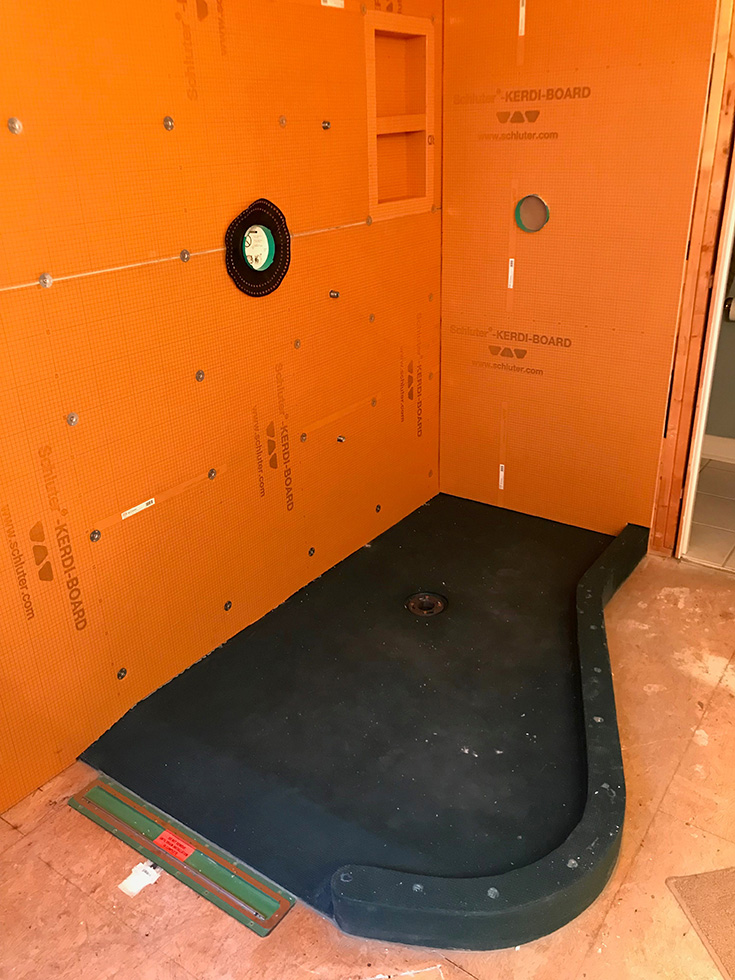
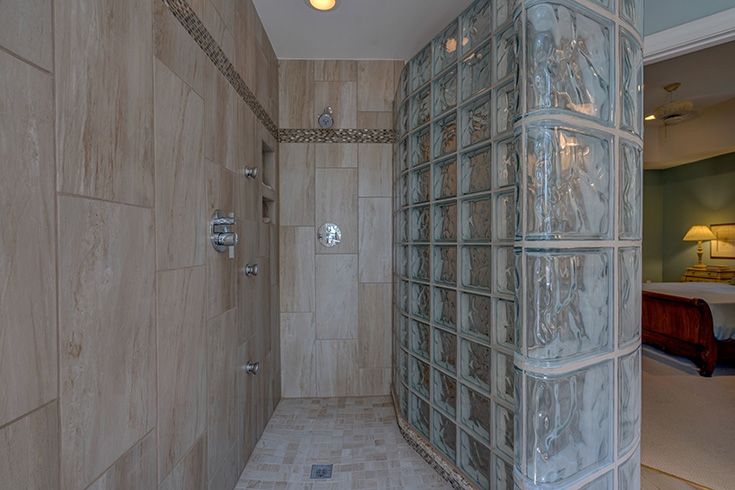
- Option 2 – Ready for tile shower pans – This base is made of expanded polystyrene as a ‘ready-to-install- unit (you don’t have to buy components you piece together). It’s 100% waterproofed and can even accommodate curved wall designs (like you’ll see in the glass block shower wall below and the ‘before’ picture of the base prior to the glass wall being installed).
- Option 3 – Cultured marble shower pans – These bases are not ‘new technology,’ but they’re versatile as all get-out. They come in a wide variety of patterns and colors and the drain can be put wherever you want (you’ll see in mistake #2 why this is a good for you).
Rookie DIY Shower Remodeling Mistake #2 – You don’t think about your plumbing before buying shower glass or a shower pan
Before you start buying anything consider these 2 questions:
- Question 1 – Does the glass enclosure you want allow you to turn the water on without getting blasted by cold water when you’re buck naked?
- Question 2 – Given where the location of your drain is today, will the ‘super-low-blowout-special’ shower pan with a standard drain location from the big-box store, work for you?
The devil (and sometimes wasted money) is in the details.
Plumbing design decisions – while not a sexy part of a finished shower remodel, has a MAJOR impact not only on your costs, but also how the shower ‘lives’ and works for the rest of the years you own your home.
Don’t get caught ‘in the cold’ (literally), stuck with poorly thought out shower. Don’t deal with a shower valve which is in the wrong spot (because of the shower door you bought). Don’t waste money on a shower pan ‘you thought’ was a great deal only to find out the drain was in the wrong spot. Follow these 2 simple tips to get it right the first time.
- Tip 1 – Make sure your glass system doesn’t prevent you from turning on the water BEFORE you step into the shower! If your plumbing valve is behind a fixed glass shower panel, “Houston (or whatever your name is), you’ll have a problem!” If you’re sold on a fixed glass panel, you may need to move the plumbing to the opposite wall so you can turn it on when you enter. Or look at products like sliding glass barn doors or a pivoting shower shield. DO NOTE listen to the lyrics of the Rolling Stones song You Can’t Always Get What You Want, but instead adopt this mantra
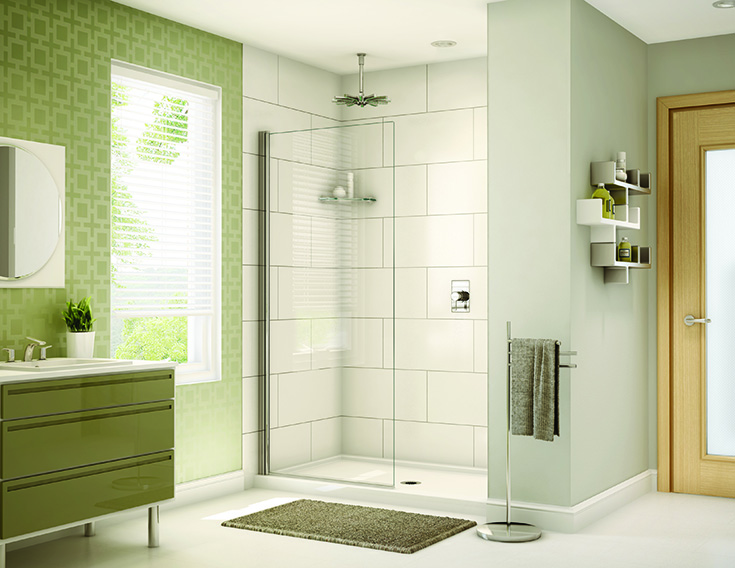
“You can always get what you want, if you plan (properly) what you need!”
- Tip 2 – Figure out where the drain is (or could be) before buying a base – Your frustration will come to a boil if you realize the ‘standard’ (budget-friendly) shower base has a drain location which is smack-dab in the middle of a joist where the drain hole is on your standard base. Figure out the possible drain locations first. If a standard base doesn’t work, it may be cheapest to buy a custom ready for tile or custom cultured stone shower pan discussed in mistake #1.
Rookie Shower Remodeling Mistake #3 – Do not resemble the definition of insanity – doing the same thing over and over again (yes, I’m being redundant here) and expecting a different result. Eliminate the grout you’ve complained about for years.
Perhaps you’ve got a moldy, stained tile shower today. You want to upgrade. So, what do you do? You replace it with a new (which will eventually get moldy and disgusting) tile shower.
This is the definition of insanity.
You know you and your spouse hate tile grout maintenance. Yet you do it again. You put in tile one more time. If you’ve had it ‘up to here’ (as Mom used to say) with tile – then read 9 Reasons You Shouldn’t Build a Tile Shower to remind yourself of the pain of that evil ‘g-word’ – GROUT!
If you’re thinking, I’m not settling for an ugly white plasticky fiberglass or acrylic wall panels (or behind-the-times cultured stone), then I’ve got good news for you. There’s two contemporary (yet simple to DIY) options which will blow your socks off.
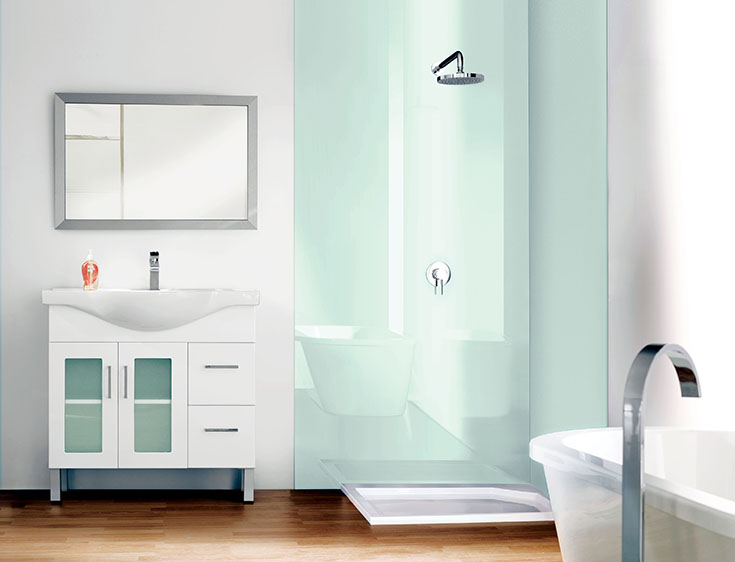
First, if you’re looking for a budget-friendly wall panel system check out laminate shower walls. These 2’ x 8’ x 3/8” thick units click, lock and seal together. They’re perfect for your everyday home shower, your vacation home rental shower or single-family rental bathroom.
Second, if you’ve got some bucks to spend and you’re into sleek and modern then request samples of optical grade high gloss acrylic wall panels. They’re show-stoppers and are easy to install. I’ll warn you though, they aren’t light on the budget.
Rookie DIY Shower Remodeling Mistake #4 – You don’t come out ‘A-head’ if your shower fixture doesn’t even effectively clean your ‘B-hind.’
Shower heads not only have to work for you today, but they need to be thoughtfully designed to work for ‘your tomorrows.’ You need a shower head which will effectively rinse the water out of your hair (and can clean your backside). However, you don’t want one which will have you cleaning the overspray off the bathroom floor (and possibly creating leaks below), or one that is ‘fixed’, and you can’t use because your mobility isn’t good.
Make sure you select the right shower head.
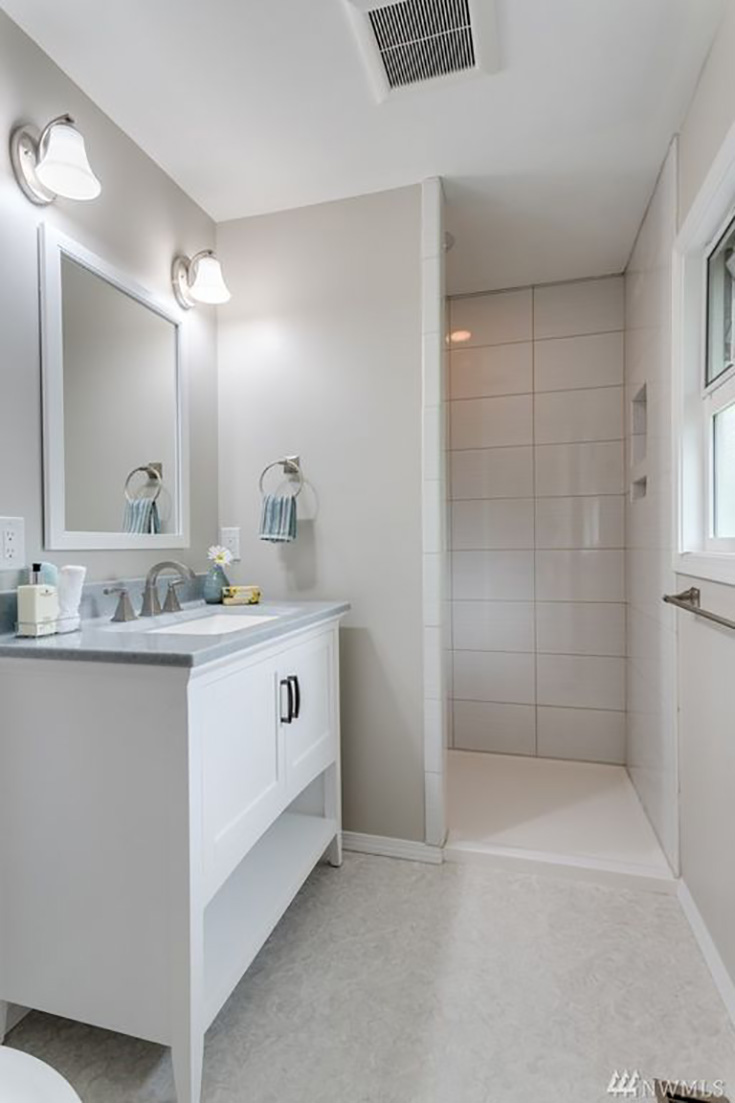
If you want an open walk in shower in a smaller bathroom, rain heads (with more powerful sprays) keep the water concentrated down at you vs. spraying at you (and out the shower opening and onto the bathroom floor).
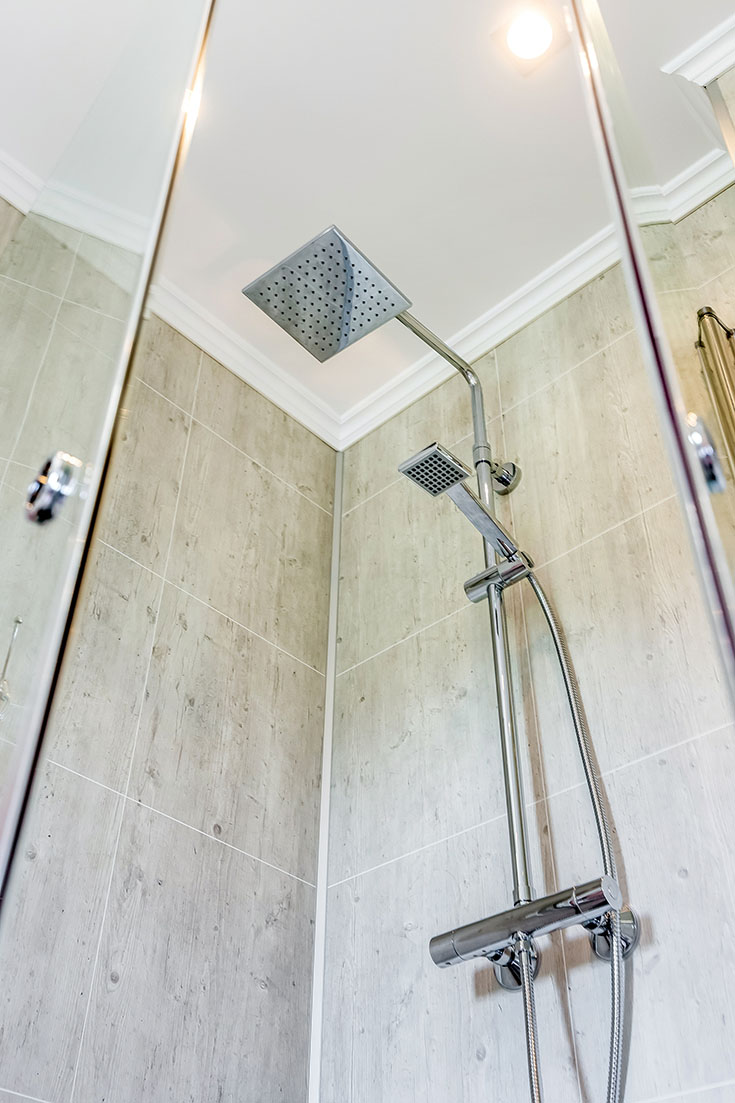
If you want the ability to sit down and clean yourself (or shave your legs while resting on a bench seat) include a hand-held shower. This feature is essential for a family member whose mobility is not the greatest.
If you want to message yourself, you’ll want to plumb for body sprays.
You don’t want to come out ‘b-hind’ – making a bad shower fixture decision. There are many fun (and functional options). Be thoughtful of your wants (and needs) both for now, and for the future.
Rookie DIY Shower Remodeling Mistake #5 – You bought ‘the dress,’ but you forgot to accessorize. Don’t forget the shower accessories.
OK – I’ll admit I’m no fashion-magnet. Fortunately, my wife of 35 years Rose (OK, what you may not realize is I’m only 43, because we got married at the age of 8 – I just look kind of old for my age, but I digress) lets me know when I’m looking a little ‘long-in-the-tooth.’
However, if there’s one thing I’ve learned from 35 years of marriage, it’s you’ve got to know how to accessorize. You don’t just ‘buy the dress’ without thinking about the shoes, jewelry and handbag to go with it.
This same logic MUST be applied to effective shower remodeling design.
A big rookie mistake I see made over and over, is there is so much focus on the shower itself (i.e. the walls, pan and shower head) the thought of how will this shower ‘live’ (where will I put my sponges, loofas, shampoo, or have a place to sit down) is an unfortunate afterthought.
Unfortunately, with DIY shower remodeling YOU’VE got to think of it all. You’re not relying on a professional contractor to ‘shepherd’ you through the process.
Here’s an abbreviated checklist of shower accessories which should be in your shopping cart (and will save installation time to boot):
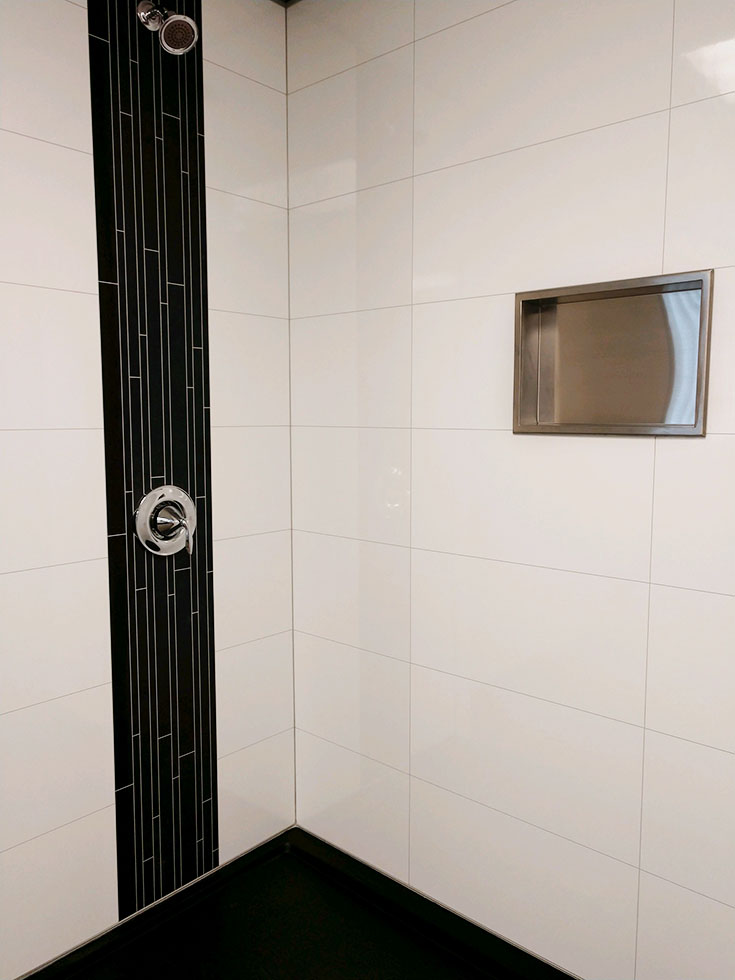
- Accessory #1 preformed shower niches – With this product you won’t need to worry about the ‘nooks and crannies’ inside the niche leaking – which can be a problem with a tile shower.
- Accessory #2 – a fold down seat – Even in a small shower, a fold-down bench seat can not only be a ‘want to have,’ but if Mom or Dad or a family member’s mobility or eyesight isn’t good, can prevent a slip and fall (and uber-expensive hospital stay).
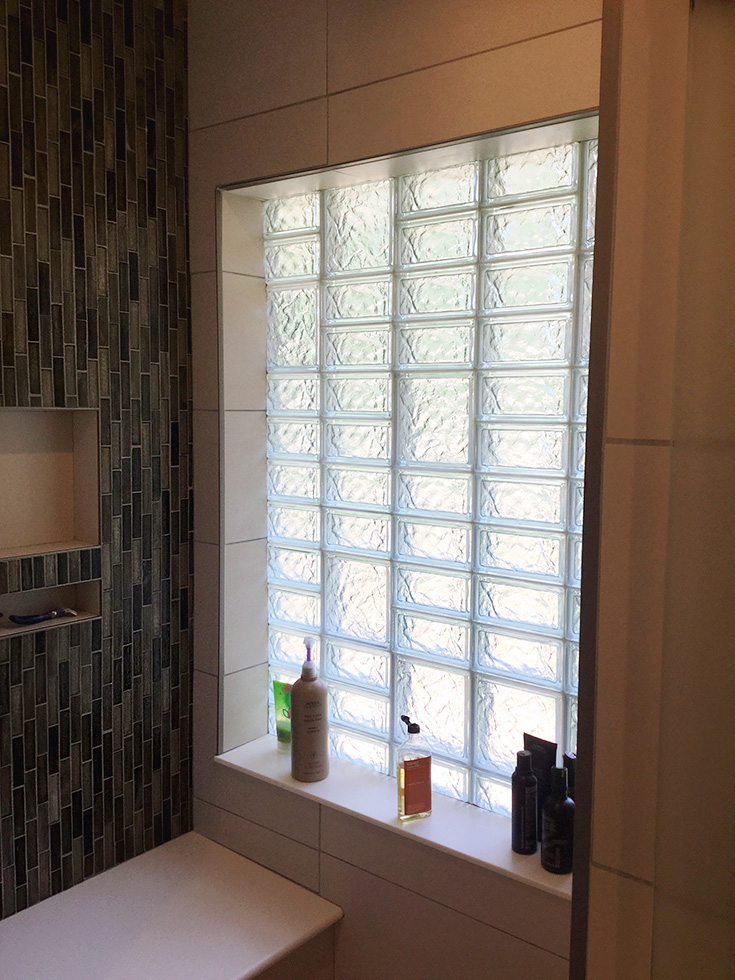
- Accessory #3 – lighting or a window – The biggest problem with many bathrooms is they’re so dark accidents are bound to happen. While many want to eliminate windows from an old tub/shower area – I recommend you don’t abandon but embrace the window. It makes the bathroom feel better. It makes the shower safer. Yes, privacy can be a problem. To combat it use a frosted glass window, a glass block bathroom window or even an operable acrylic block window. If it’s impractical to add a new window, then an overhead light in the shower can be a smart.
Rookie DIY Shower Remodeling Mistake #5 1/2 – You suffer from the deadly (to your pocketbook and time) disease ‘Too-Proud-To-Ask-Itis.’ Watch videos or pick up the phone and call for help.
Before GPS was a ‘thing’ how many of you (if you’re being honest) would be lost for 20 minutes BEFORE ‘admitting defeat’ and stopping into a gas station to ask for directions? C’mon now, be honest! Being too proud, and not asking for help, is (in plain English), dumb.
Conversely, being too proud to ask for help the first time you’re remodeling a shower is equally stupid – IMHO.
In today’s age of digital information there’s no reason to not seek out help along the way. If you’ve gotten this far reading this article, you’re already showing you’re a waaaay smarter ‘tool in the remodeling shed’ than most.
Here’s what I’d recommend for any DIY remodeler. First, DON’T ALWAYS BUY FROM THE CHEAPEST VENDOR! Look for product vendors who not only price products fairly but have on-line-reviews which prove they service what they sell. Your vendor mush be there for you when you’re ‘freaking-out’ worrying you may be installing something wrong and call for help. Your vendor should have installation videos. Your vendor should no be staffed with well-meaning call center people who are expected to be experts on thousands of products (but don’t know what they’re talking about).
Ask for advice. Choose a supplier with a service/education mind-set. DO NOT BE AFRAID TO ASK. This is your first time. You’re a rookie. It’s perfectly fine to admit it (and embrace it). Choose helpful vendors. Get advice often. ‘Nuff said.
Conclusion
I know doing your first shower remodeling job is daunting. However, I firmly believe you can have a positive (and money-saving) DIY shower remodeling experience IF you think twice and buy once.
Be more thoughtful in your design and product decisions.
Remember what you don’t like about your current shower and – by all means – don’t repeat mistakes of the past.
Ask for help along the way.
If our company can help ‘shepherd’ you through this shower remodeling ‘journey’ we’d be honored to help. If you’re looking for stylish waterproof shower walls, we’ve got cool styles. If you’re looking for standard and custom shower pans – we’ve got you covered. If you’re looking for shower accessories, as the gameshow The Price is Right would say, “Come on down.”
If you’re just looking for some ‘free and easy’ advice – we’ll help, there also. Don’t allow yourself to be a victim of the deadly (to your pocketbook) disease called ‘Too-Proud-To-Ask-Itis!’ Click the links or call us at the numbers below.
Mike
How can I (or a member of my team) help you?
Do you have any additional questions about me (or my team) can ‘fill in the blanks’ for you?
We’d love to help. Call us at 877-668-5888 (for nationwide wholesale supply or a connection to a local installing dealer of laminated wall panels). For a local shower design and installation call 216-658-1280 in Cleveland or 614-252-3242 in Columbus for shower and bathroom supplies.
If you’re a remodeler or builder and want practical advice on remodeling products, industry trends, marketing and sales tips to grow your business (and cut day to day hassles), read my newest blog – Innovate Builders Blog. It’s packed with ideas you can use now. Click here to Sign Up for the Innovate Builders Blog.
If you’re in the building business, click here if you’d like to learn how to become a shower wall panel dealer or call and ask for Mike at 888-467-7488.
If you want more advice (or like wacky humor) follow me on LinkedIn @MikeFotiLinkedIn or on Twitter @Mike_Foti or my companies @InnovateBuild or @InnovateHomeOrg.





Mike Foti
Susan – please let me know where you see the error in the article. I hope it was of value to you – Mike
Susan
You spell their as in possession, not there.
Mike Foti
Zanne – good points. A successful bathroom remodel takes a lot of planning for things to go really well! Mike
Mike Foti
Cheryl – I am pretty sure there is distribution in South Africa. I will send you an email and copy Per Jatog (the Export Manager) to see if he can refer you to some one. Thanks – Mike
Cheryl Pleass
Do you know if laminated shower wall panels are available in South Africa?
Zanne
Thank you for this. I’ve seen so many people who don’t think about the plumbing & where it will go. I think one of the biggest things is many people are ignorant about the DWV system. They aren’t even aware that bathroom fixtures need vents. I managed to save a friend from that mistake when he was remodeling his bathroom– I even had to tell him the best spot for his shower bc I realized the shower stall he got would not fit where he wanted it (bc the ceiling was too low).
Have you heard much about the Sterling shower units made from Vikrel (I think it’s some sort of composite fiberglass?). The shower bases have an almost honeycomb bottom for support & can be placed on felt (according to installation instructions). I believe they are less expensive than acrylic showers. Many of them come with shelves built in (although they are hollow so I would reinforce them with a little expanding foam- a tip I picked up from someone who installed them).
I noted that you mentioned a shower seat but didn’t mention ADA accessories like grab bars, slide bars, etc. When planning a shower it’s a good idea to plan for the future & either install grab bars or have backing/supports to add grab bars later. They don’t all have to be ugly either. There are some nice looking grab bars. Moen makes some very pretty ones.
I’m currently planning to change an old cracked avocado green fiberglass one piece shower/tub combo from the 70s with a Sterling 4-piece shower kit. I’m opting to get the one without the backers because I intend to add my own. I’ve got the Moen Kingsley Moentrol trim so both temperature and pressure can be adjusted separately. I also got a 16″ grab bar with a little plastic shelf, and I got a Moen Refresh showerhead with a built-in slidebar. The top attaches directly to the shower arm & the bottom of the bar attaches either via screws or suction cup. A removable shower seat will be put in (I will get one with adjustable legs so it can be adjusted to preferred height & suction cups to keep it in place when in use).
Right now I’m trying to decide if the 16″ grab bar should go above the shower controls or below. There will be a vertical grab bar on the side for her to hold on to (it’s for my disabled mother) and she’ll be able to reach in & turn on the controls, keep her shampoo & stuff on the grab bar shelf, & be able to turn the shower off while sitting. I’m leaning toward having the grab bar above so the stuff on the shelf won’t interfere with the controls. That will also put the controls closer to the access panel that I’m adding on the other side of the wall.
Access to the plumbing is another thing to consider. Also, considering joist placement is important to make sure the drain won’t go through a joist & that you have enough room for the P-trap.