If you’ve ever gotten involved in a DIY project which wasn’t as “easy to install” as the box said you know the true beauty of a simple straightforward system. In the case of tub and shower wall panels a product which is easy to cut, install and finish is critical because it seems standard sized enclosures openings are usually not as “standard” as you think when you dig into the project. Off the shelf systems can appear to be perfect – until you find out your walls are not in square or plumb and you’re fighting to make the standard shower or tub wall panels fit.
Eliminate these installation challenges and get a waterproof and luxurious finished product using a PVC backed composite decorative wall panel system. Learn 5 steps to install these panels and transform your bathroom.
Step 1 – Preparing the existing walls for your DIY wall panels
These DIY wall panels can be installed over tile or greenboard.
If you do install over ceramic tile make sure none of the walls are spongy or deteriorated (if so – demo out the old walls and replace them with greenboard). Remove any existing soap dishes or corner shelves which protrude from the wall.
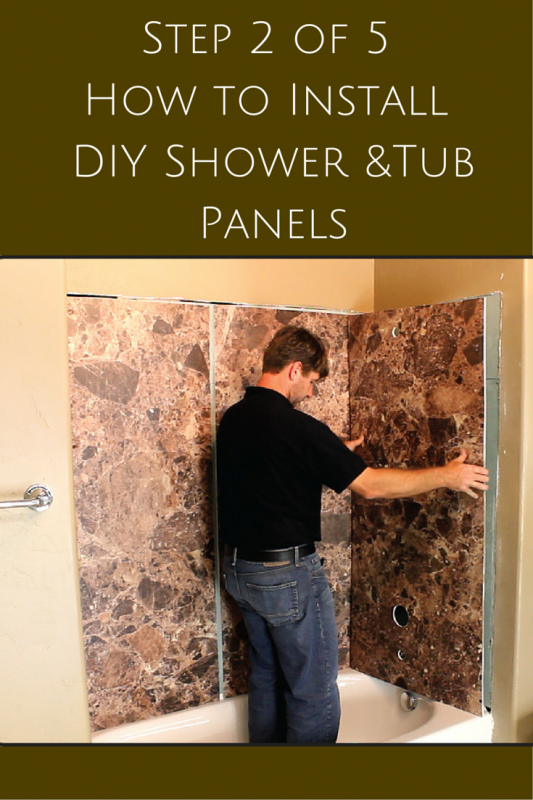
Step 2 – Cut and adhere the wall panels to the moisture resistant green board
Measure the back panel (make sure to take at least 2 measurements – one at the top and one at the bottom of the wall just in case your tub or shower is out of square) and cut with a circular saw or a carpenters knife and attach with polyurethane adhesive (note – there is an installation kit available with the panels which will provide the recommended adhesives and silicone). If you have a standard sized wall or tub project there are also prepackaged kits which will minimize (or if the walls are true to size) eliminate the need for cutting. After the back panel is installed repeat the same procedure for the side wall(s).
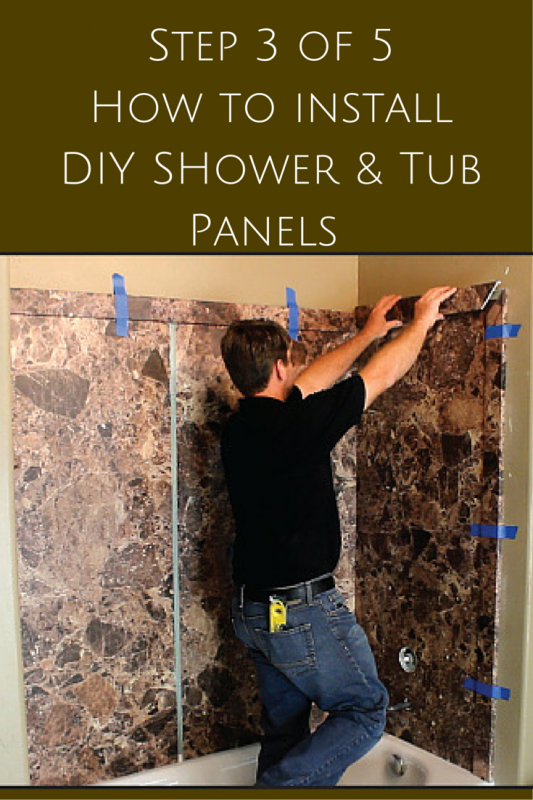
Step 3 – Cut the trim moldings and put over the edge of the panels
Cut the 3” wide trim moldings with a carpenters knife or circular saw, apply the polyurethane adhesive and set them over the outside edge of the side and back wall panels. Since the moldings are 3” wide even if your panels cuts are not perfect these moldings will cover over any cutting which is not the greatest.
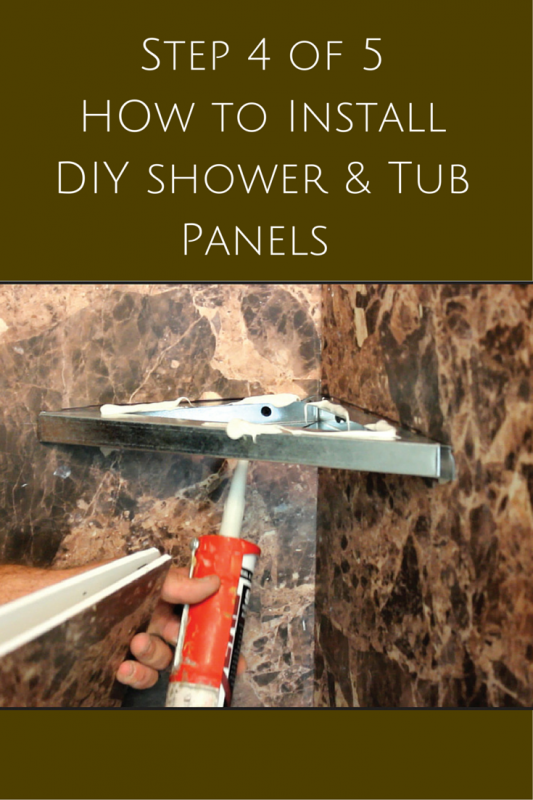
Step 4 – Install corner shelves for your DIY shower kit
The standard tub and shower kits in this line come with one corner shelf (although more shelves can be added). To install screw the metal installation brackets into the wall. Put the polyurethane adhesive on the metal bracket. Lastly slip the corner shelf finishing material over the metal bracket.
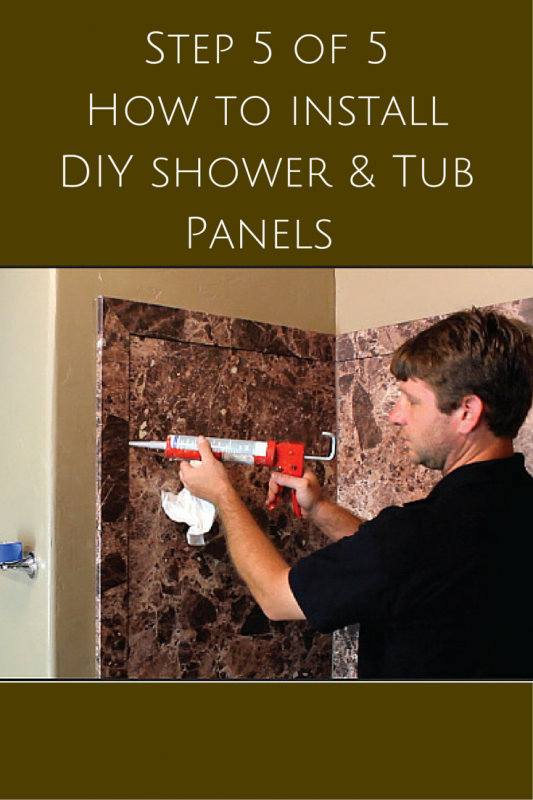
Step 5 – Apply 100% silicone sealant to seal all joints between the panels, the base and the corner shelves
With a caulk gun add silicone sealant to every joint where the panels meet or where the trim moldings or recessed niches overlap the wall panels (note – color matched sealants are available with the installation kits).
Do you have any questions about how to install shower wall panels or tub panels? Please comment below or call us. We supply these DIY shower wall panels on a factory direct basis across the United States.
If you’re looking for more information or an estimate on remodeling a shower or nationwide material supply for these wall panels mentioned above call The Bath Doctor in Cleveland (216-531-6085), Columbus (614-252-7294) or for nationwide supply Innovate Building Solutions (877-668-5888).
If you’re a remodeler or builder and want practical advice on remodeling products, industry trends, marketing and sales tips to grow your business (and cut day to day hassles), start reading my newest blog – Innovate Builders Blog. It’s packed with ideas you can use now. Click here to Sign Up for the Innovate Builders Blog.
President of Innovate Building Solutions a nationwide supplier and regional (Cleveland and Columbus) remodeling contractors. Some of our product lines include glass counters, floors, backsplashes, glass blocks and grout free shower and tub wall panels

")
")
 and do it Right the SECOND TIME!")


Mike Foti
Thanks Brett – we’ll give you a call. Mike
Brett Coulson
I’m interested in some of your shower wall panels
In some of my new construction home’s.
My number 515-208-4083