How to Make a 4’ Wide Walk In Shower
Updated January 13, 2019
Herb called earlier this week and said “I love the open look and feel of a walk in shower but I only have a 4’ wide space. Is there a way to make a walk in shower in a space this small?”
The short answer I gave to Herb is yes it’s possible…..the longer answer is it takes careful planning and access to the right products. The article below will present 3 strategies to make a walk in shower in a 4’ wide space.
Strategy 1 – The “No Barrier” Wet Room
It’s time for all of us in the United States to pick up on what Europeans and Asians have known for years – you don’t need a lot of space for a walk in shower – but you will need to embrace the concept of the one level bathroom (also known as a wet room).
My original encounter with wet rooms was seeing my wife’s grandfather’s home in Italy. This small home in the hills of Isola del Liri (a town 100 kilometers south of Rome with a beautiful waterfall) had a full tile bathroom (built on a concrete floor) which was only 4’ x 5’. In this utilitarian one level bathroom there was a shower head sticking out of the wall (with no separate enclosure), a wall mounted sink and toilet. The low spot in the room was the drain which was in close proximity to the shower head. While this Spartan design does not conjure up the dream bathroom most of us desire today it provides a functional roadmap to designing a contemporary walk in shower which can work in a small space.
A modern bathroom design (which incorporates the basic design principals of my wife’s grandfather’s home of yesterday) will now use a product called a shower base former and a waterproofing kit to create this one level room. The base former is placed on the joists of the home (and can be used in frame construction or concrete floors) and then the entire bathroom floor is waterproofed to create a one level room.
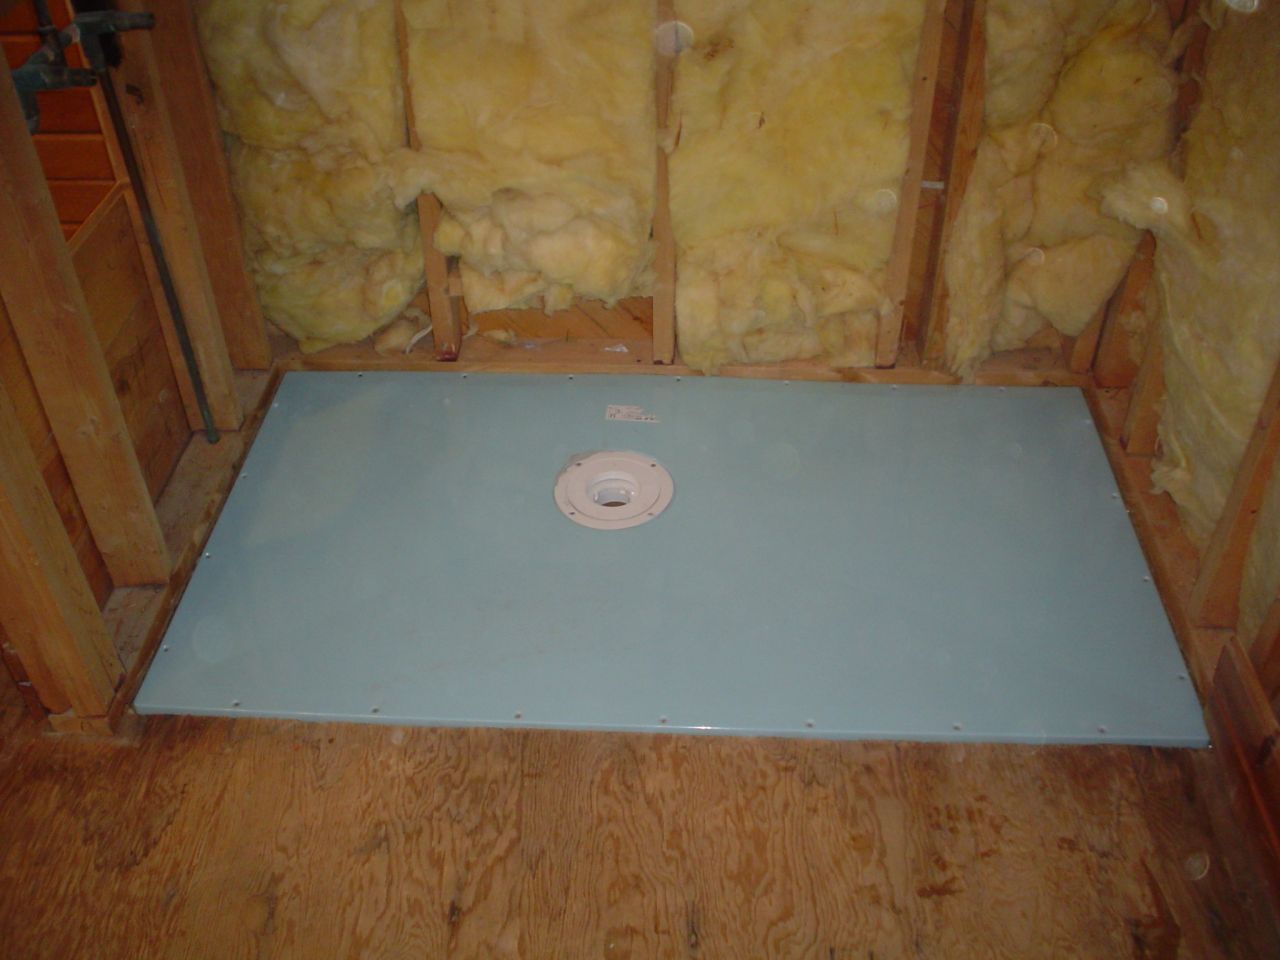
Since the bathroom is at one level you can now take the 4’ wide space and either walk or roll into the space (with no enclosure at all) or put in a small 2’ wide piece of glass with a 2’ wide doorless opening. The finished look is sleek, open and safe.
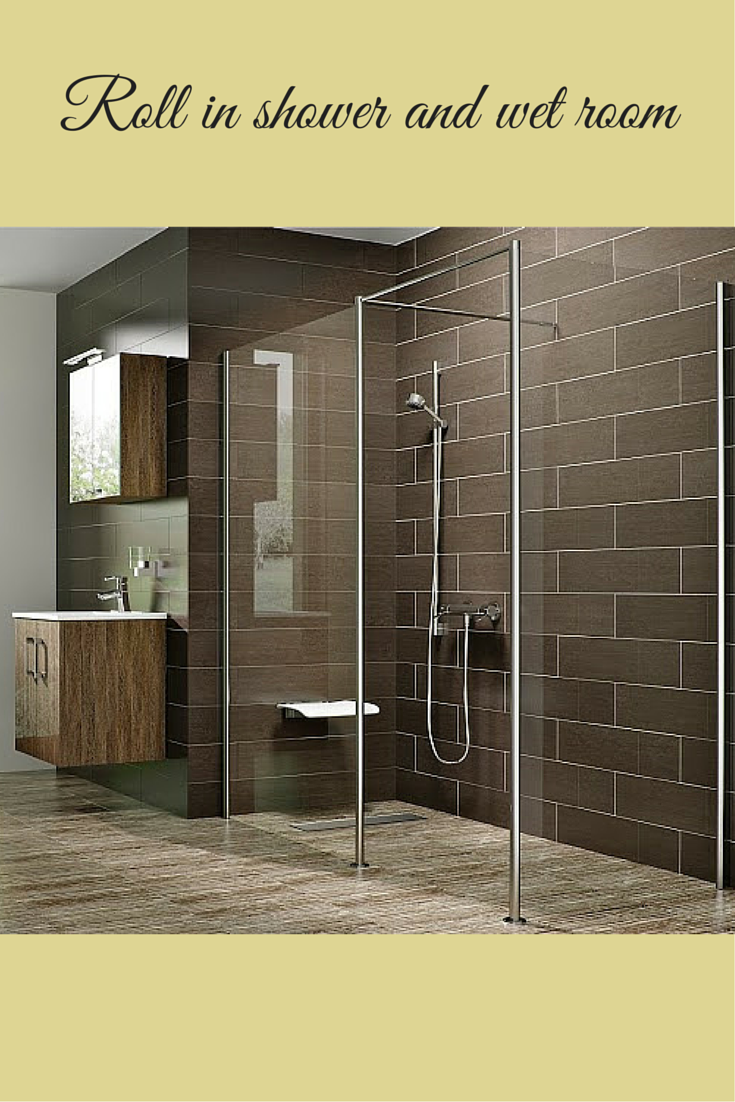
Strategy 2 – “The Combo” = (Straight Glass Wall Panel) + (Rain Head) + (Waterproof Floor Tile Backer Board)
If you’re not comfortable with the no barrier curbless wet room approach in Strategy 1 – this idea could be perfect for you. It involves using a combination of 3 products:
• Product 1 – 30” of frameless or semi-frameless glass or glass blocks – The concept here is to use 30” of glass to create a smaller opening of 18” to minimize water coming out of the shower. Since the opening is smaller than the standard 24” for most people will need to enter the shower sideways (vs. walking in straight in).
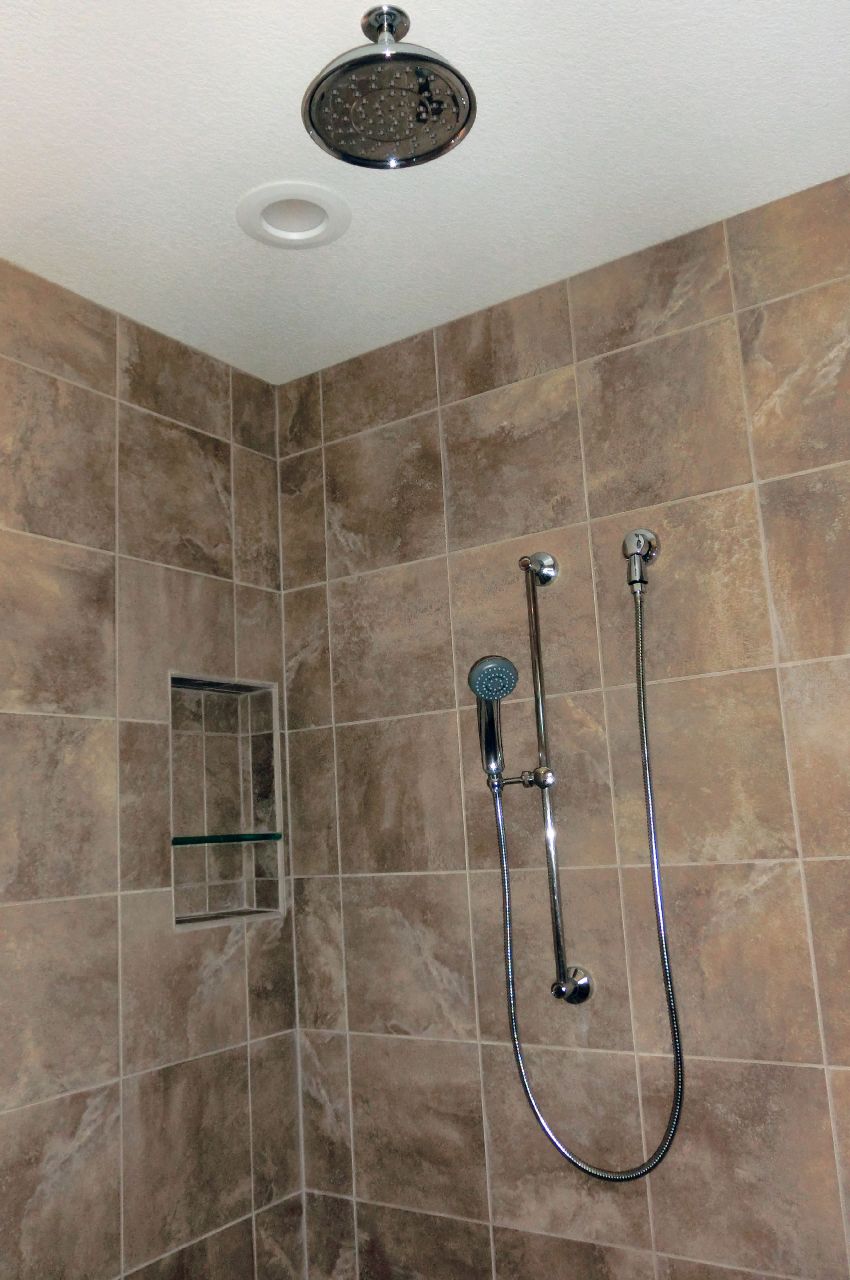
• Product 2 – Rain head – The advantage of using a ceiling mounted rain head vs. a wall mounted stationary shower head is the water falls more gracefully onto your head and there is less overspray shooting off your body. This directional change in the water will minimize water coming out of the showering area.
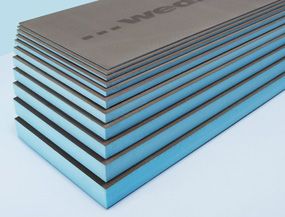
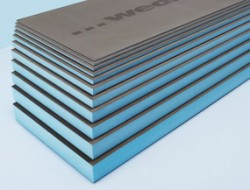
• Product 3 – Waterproof bathroom floor tile backer boards – While the 30” of glass and the rain head will lessen the chance of water coming out you still may get some overspray on the bathroom floor tiles. This does not need to be a problem. Instead of using a semi-porous cement board underlayment for the tile install a waterproof extruded polystyrene tile backer board (like the products made by Wedi Corporation).
Strategy 3 – “The Partial Walk in Shower” Using a Pivoting Shower Screen
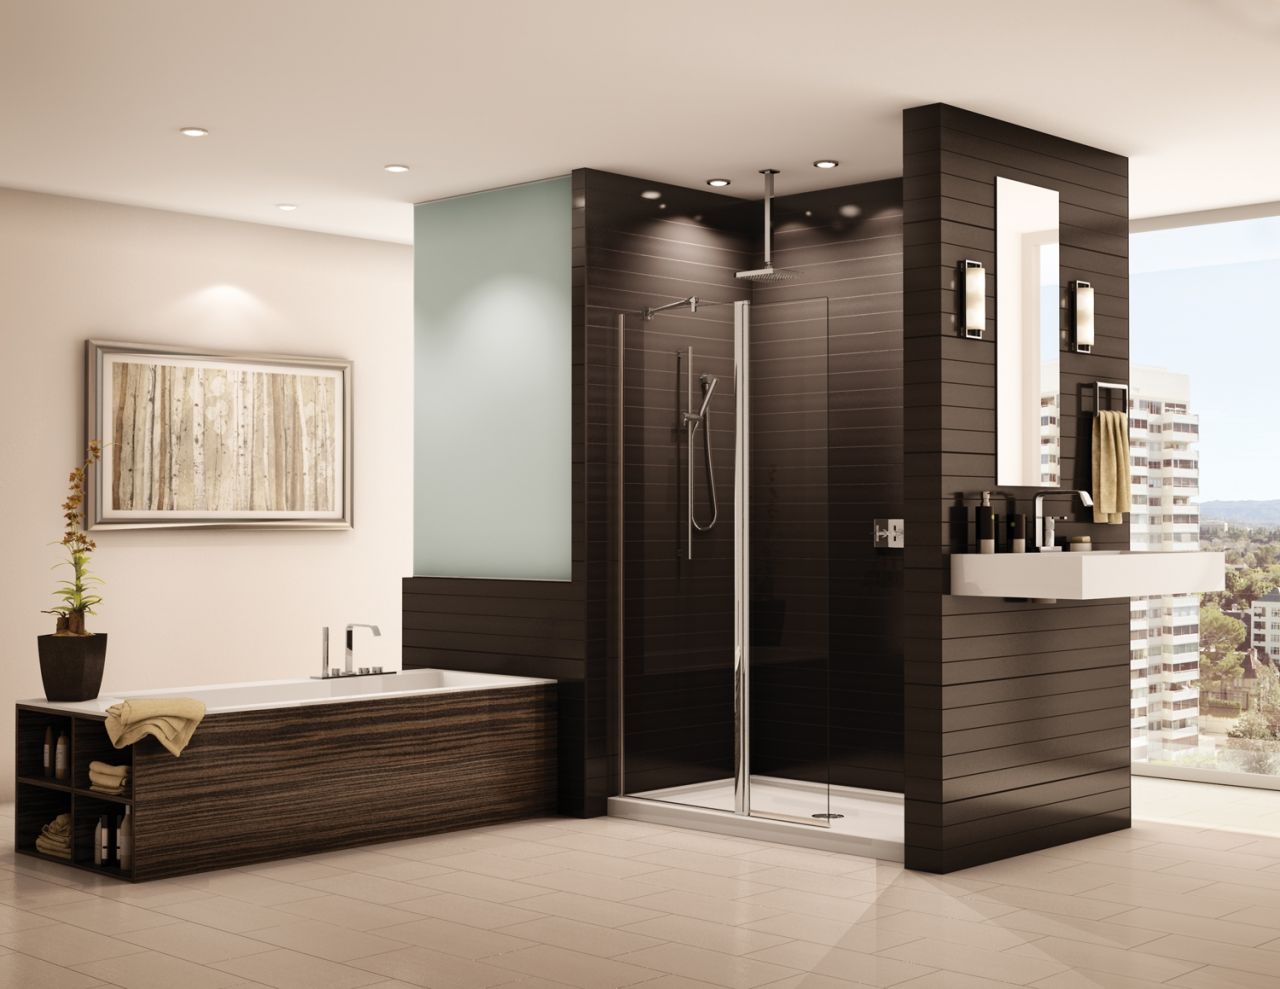
This strategy has the smallest opening of the three alternatives discussed – but it still embraces the open contemporary bathroom concept and does the best job of keeping water confined to the showering space. The partial walk in shower will use a stationary piece of glass which is attached to a small pivoting shower door. An off the shelf contemporary acrylic shower pan and glass enclosure system makes this walk in shower possible at a cost effective price. This shower screen below has a 24” piece of glass and 15” pivoting door which would leave a 9” opening in a 48” wide shower space.
Which strategy do you like best? Please comment or call the numbers below for tips, advice or a free consultation to turn your vision of a 4’ wide walk in shower into reality.
For regional installation service call The Bath Doctor in Cleveland (216-531-6085), Columbus (614-252-7294) or for nationwide material supply of unique shower bases and glass enclosures for walk in showers call Innovate Building Solutions (877-668-5888).


Mike Foti
Mary – thanks for your question! I have not had a ton of experience with tanking but my understanding of it is an an area you put below the floor and fill up with water (kind of like a sunken tub). Since you have a small bathroom I don’t think tanking would make sense for you. On the other hand though the wet room concept would be an excellent idea – because with a wet room you can waterproof the entire room and not have “barriers” between the shower and the rest of the bathroom. It would be good to get a drawing from you which would show the size of your room and where any doors (or windows – although I’m guessing you don’t have any windows since it’s a closet now) are located (and if the door is opening into the room or out of the room). From this drawing we could talk conceptually about a bathroom plan. My wife’s grandfather in Italy had a wet room which was 4′ x 6′ with a toilet, wall hung vanity and shower (now that’s space-efficient)! Mike
MARY MCAVINCHEY
I have a closet on the second floor of my 100 + yr old house that we want to make into a tiny 3/4 bath. I’m thinking of making it a wet room but not sure what the term ‘tanking’ means. Also, the dimensions are 4′ x 6′ with a slanted ceiling on one end that is apprx. 7′ high at the lowest part. Not sure how we are going to fit a sink, shower and toilet in this but we want to try. Any suggestions?