A proven 8-part DIY shower kit checklist saves time and money
Updated March 3, 2019
You’re excited to begin your DIY shower remodeling project. You’ve finally got the time to crack open the box with the shower kit you picked up at your local home center store 6 months ago (you’ll finally be able to get your wife off your back about getting this project done!). You remember asking the clerk with the bright orange smock, “Is everything I need in the box?” While half-listening to you and “helping” another customer he says half-heartedly, “Ya, ya, ya – everything’s in there.”
You start tearing the box open. You’ve got the 3 standard sized shower wall panels (you think, “I hope they’re the right size???”), but where is the rest of the stuff? Your mind starts swirling and you’re hearing the not-so-silent voice of your wife saying, “Don’t you think we should hire a pro to do this job? Are you sure you know what you’re doing?” A bit of uncertainty creeps in.
Has this home improvement scene ever resembled you?
There is nothing more frustrating than realizing you’re unprepared to do the remodeling job you told your family 6 months ago was “under control.” Now you’re missing God only knows what. The “helpful clerk” with the orange smock is probably on to his next part time job! Ouch.
You’ve got to find a way to pull this remodeling project out of your butt and save face. Who wants to spend big money on a professional remodeling contractor if you can do it yourself? It would be nice to have some extra bucks to go to the game or buy some golfing gear with the money your going to save by DIY-ing it.
If you’re starting a bathroom remodeling project, you want to make sure your (supposedly) DIY-friendly shower remodeling kit has everything you need so you’re not scrambling all over town trying to find the right parts. Six months later you’re not even sure you’re using the right components to make a shower. Will the shower look nice? Will it function properly?
Here’s what you need to do NOW. Get out your pad (or IPad), paper and a pencil and check out the 8-part DIY shower remodeling kit checklist so you don’t get caught with your “remodeling pants” down.
Checklist item #1 – Lay your foundation – get the right shower pan
Buying DIY shower wall panels without having the right shower pan is like framing the first floor of your home without building the foundation first. The shower pan is the structure of the enclosure. You’ll want to figure out what base to use and how the shower wall panels and backer board will be placed in relation to this base. (Warning – I have seen people put in their backer board and wall panels before installing the base. This could lead to big-time failure down the road!). If your budget allows don’t cheap-out and put the cheapest fiberglass base you can find into your project. If the base (i.e. foundation) fails – you’ll have to pull EVERYTHING out! Wow. Acrylic and culture stone shower pans are sound and proven choices.
Checklist item #2 – Let it flow – choosing the right drain kit and plumbing line
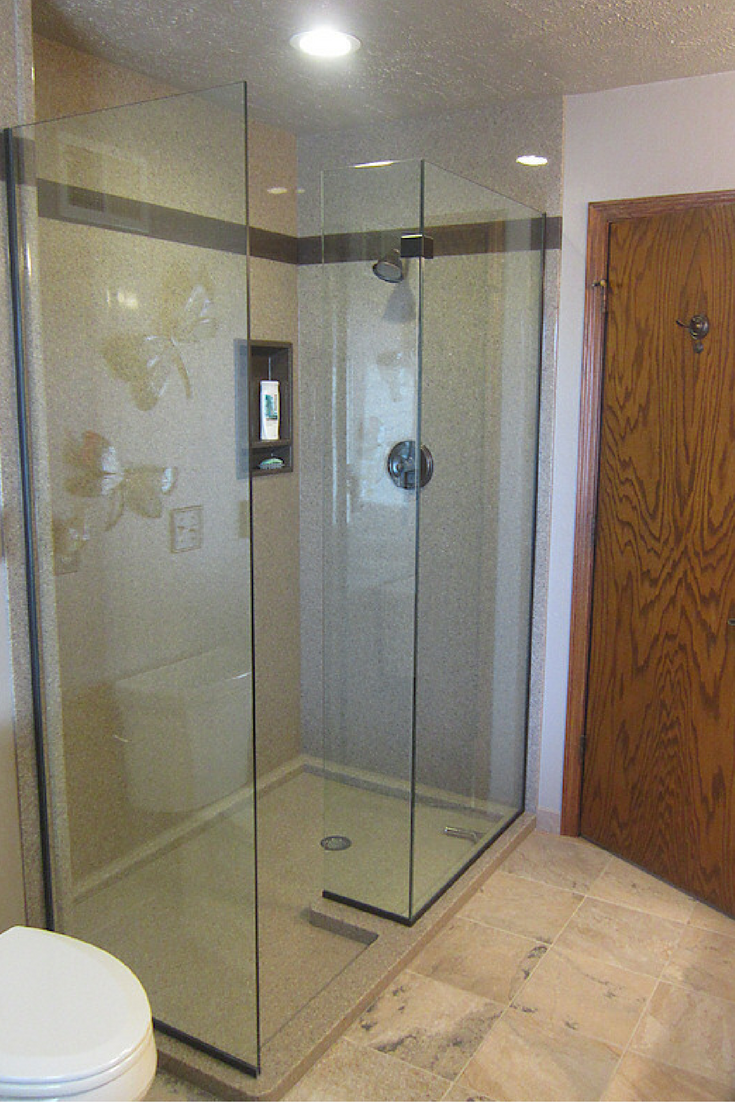
Drains aren’t sexy – they are critical! For a proper shower installation you’ll need a 2” plumbing line connected to your PVC or cast iron shower drain (note – if your converting a tub into a shower you’ll need to change your 1 ½” line to a 2” line). After you’ve got your plumbing line set you’ll want to put on your checklist to pick out your drain cover.
If you’re going with a waterproof ready for tile shower pan I’d recommend using a square drain cover vs. round. It’s easier to make your tile cuts around a square drain and the shower looks more contemporary. Also think about the finish of the drain cover. Match the drain cover with your other plumbing fixtures. If your shower head is oil rubbed bronze use a matching cover.
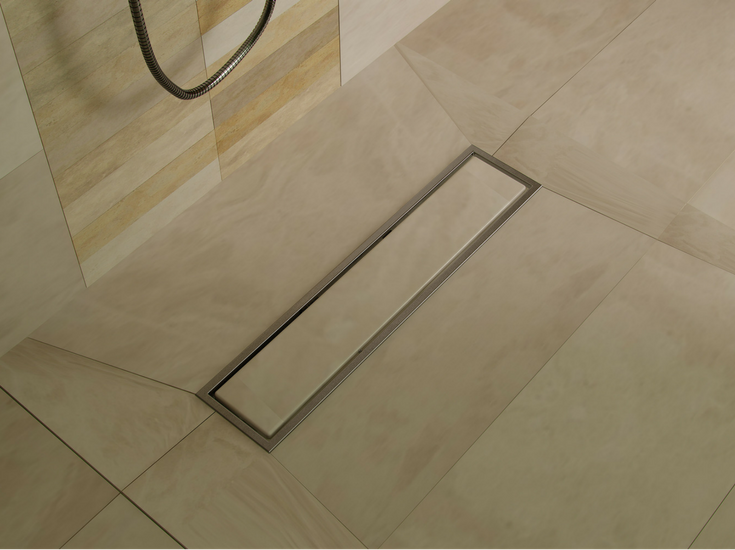
If you want to add style consider the hot new linear drains. They are available with sharp stainless steel covers, LED lighting options or you can put your tile into the cover so it feels like the drain disappears. How cool is that!
Checklist item #3 – Back up your DIY shower wall panels with the right stuff
When you’re buying DIY shower wall panels you’ve got to first know what (if anything) is needed to back up your walls. I get this call way too many times. A homeowner calls and says, “Mike – I’m finally done fighting with these nasty cement wall backer boards and I’m ready to purchase my wall surround panels and shower base.”
At that moment, I feel bad for this person. The shower pan should have gone in first. In most cases, they only needed to use moisture resistant greenboard which is cheaper and much easier to work with than cement board. Now I have to be the bad guy and deliver the news they have to rip out their wallboard and have wasted their time and money. OUCH! There are also some wall panels kits which don’t need any backer board because they are designed to go direct to the studs. Know how you need to back up your wall panels before installing any backer boards.
Checklist item #4 – Dress up your walls – choosing the right shower wall panels
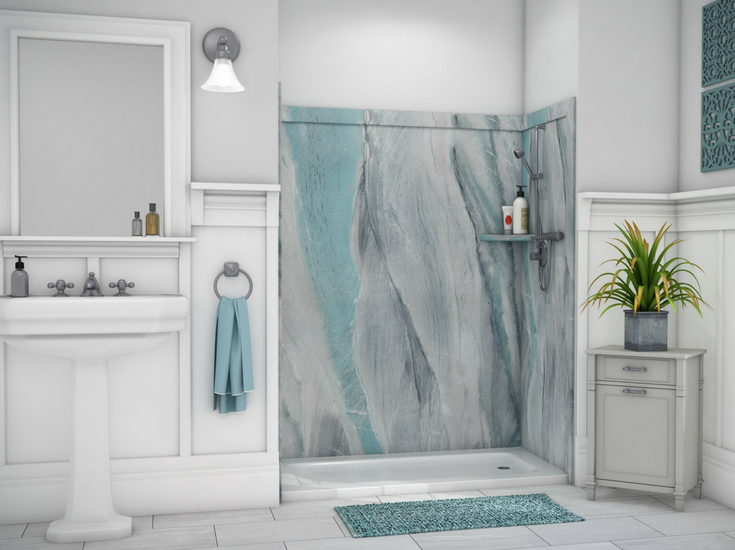
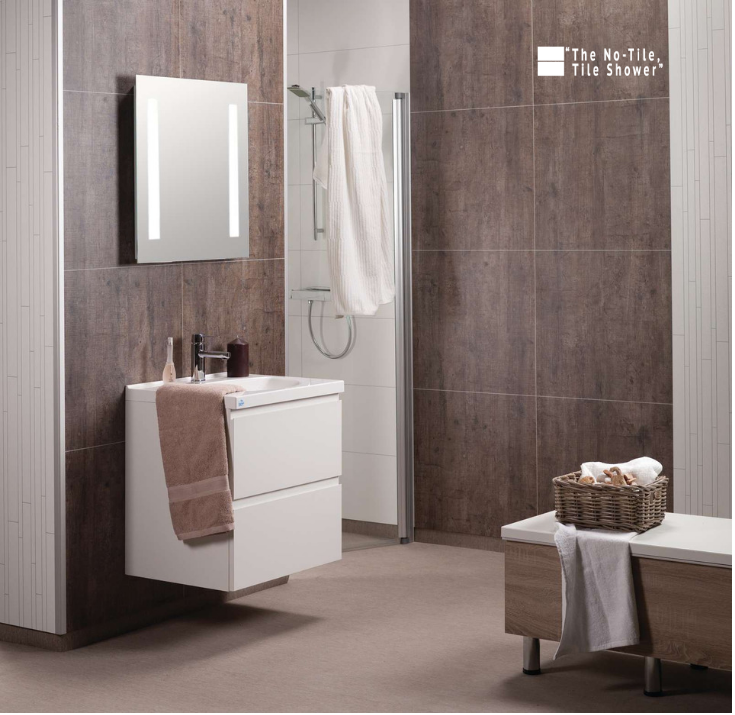
I’d like to make this easy for you and respond like the host on Jeopardy when you ask “what’s the right shower wall panel” and I say “the answer is ________.” The problem is there is no one right shower wall panel. I’ll be a bit political and say “it depends” on what you like, budget and how long you want the panels to last. I would stay away from cheap fiberglass or multi-density fiberboard panels the guy with the orange smock might show you (unless you’re in a not-so-nice neighborhood and you’re flipping this home). Some fun options which are popular are faux marble shower panels, engineered stone solid surface panels and laminated wall panels (these panels look just like tile – but have no grout joints as you’ll see in the picture below).
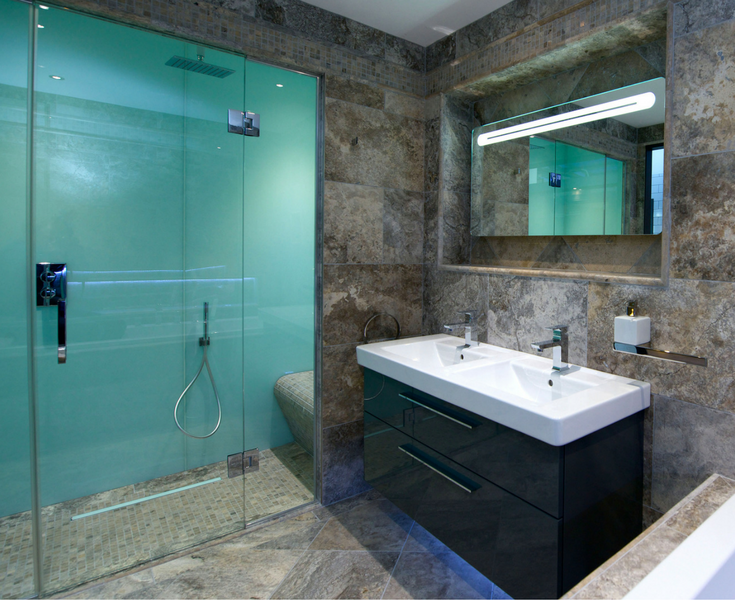
If you’ve got the budget and desire for a sleek and contemporary look high gloss shower wall panels are the ticket.
Checklist item #5 – Seal the deal – getting the right adhesives and sealant
Do you remember staying up late on Christmas Eve struggling to put together the ultimate toy your son or daughter wanted. You thought those directions were written purposely to blow your mind. You get it all done and then you notice in small print on the box-top those 3 evil words, “Batteries not included!” This frustrating scenario is the same as buying a DIY shower wall panel kit which does not come with the right adhesives or color matched sealant. You need to think like American Express and “don’t leave the on-line store without them!”.
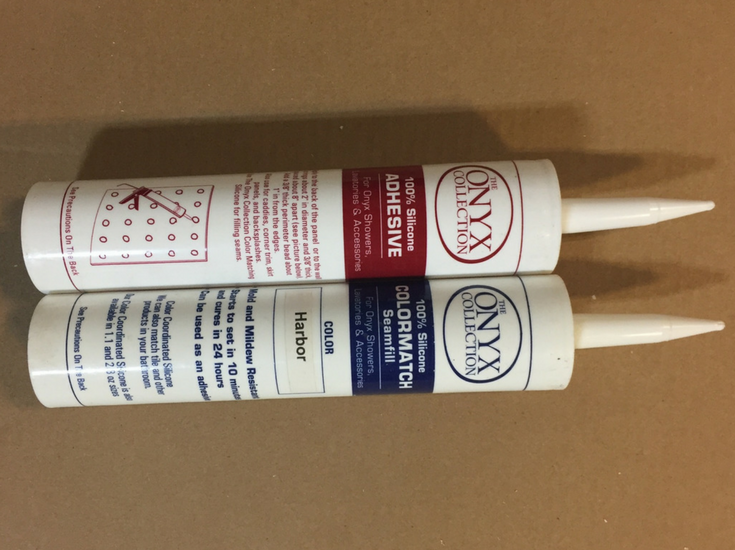
Having the right adhesive and sealant can be critical to the ultimate success of your shower. The right adhesive protects the panels from coming off or water not getting behind them. A sealant which is not color matched to the wall panels will make the joints stand out (not in a flattering way) and distract from the wall surrounds. Don’t leave home without the right sealant or adhesive.
Checklist item #6 – Don’t forget the (cannolis) ‘er I mean the glass
Just like in the Godfather when they say “don’t forget the cannolis” after carrying out a “hit” we don’t want to forget about the glass when thinking through a shower kit. Glass enclosures can be a bit more trick than they may appear at first though. There are options in the type of framing – including framed, semi-frameless and completely frameless glass. As you have less framing the glass will get thicker the price will be higher. You can either get your glass package with “standard” glass which is designed to fit the base (this will be more cost-effective) or have a glass supplier custom make a glass enclosure for you.
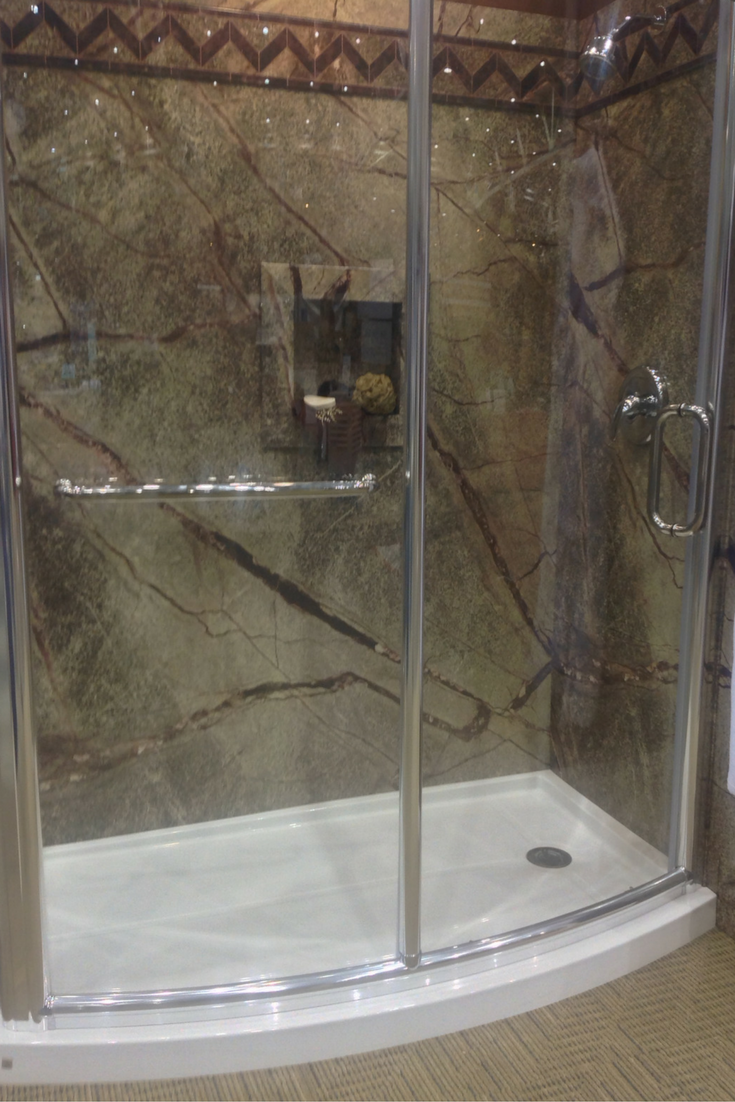
Once again be thoughtful and consider how your choice in a shower pan will impact the cost of your glass enclosure. In general – if you choose to do a custom shower pan you will likely also have to buy a custom glass enclosure.
Checklist item #7 – Storage is key – recessed niches and corner shelves
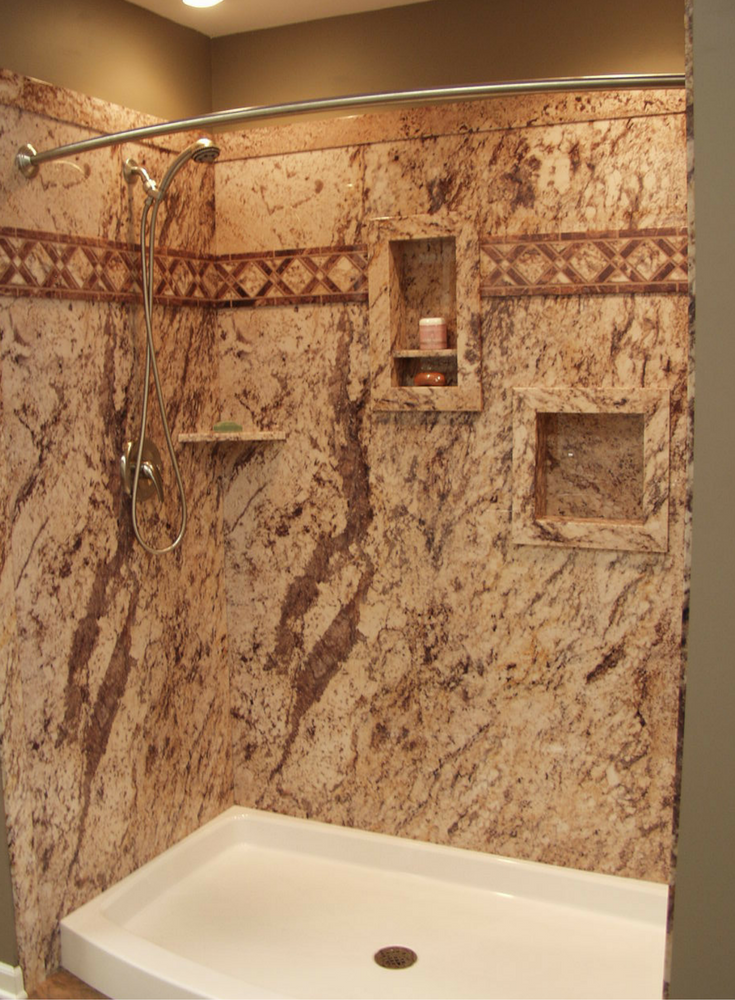
Don’t install your wall panels and then think, “where are we going to put our soap, shampoos, razors, and all my wife’s showering stuff (that I don’t even know what it is!)? If you have a small shower you’ve got to be strategic and use your (kind of hidden) space wisely. Use wall cavities and install recessed niches so you don’t take away any of the valuable shower space with storage.
If you have more room use surface shelves or corner caddies. If you’re like most people, the amount of storage in your home (and shower) is increasing. Think more storage in less space.
Checklist item #8 – If Mama’s not happy…. remembering personal touches for your wife, partner, girlfriend or significant other (you get what I mean)
Redoing the shower is the way to make major brownie points with your wife or girlfriend or whatever politically correct term you use for your significant other. She’ll love not having to go into the old dark moldy shower ever again. To really knock it out of the park add features which make HER life simpler in the shower. Two products to consider are (1) a fold down or corner bench seat or (2) a leg ledge.
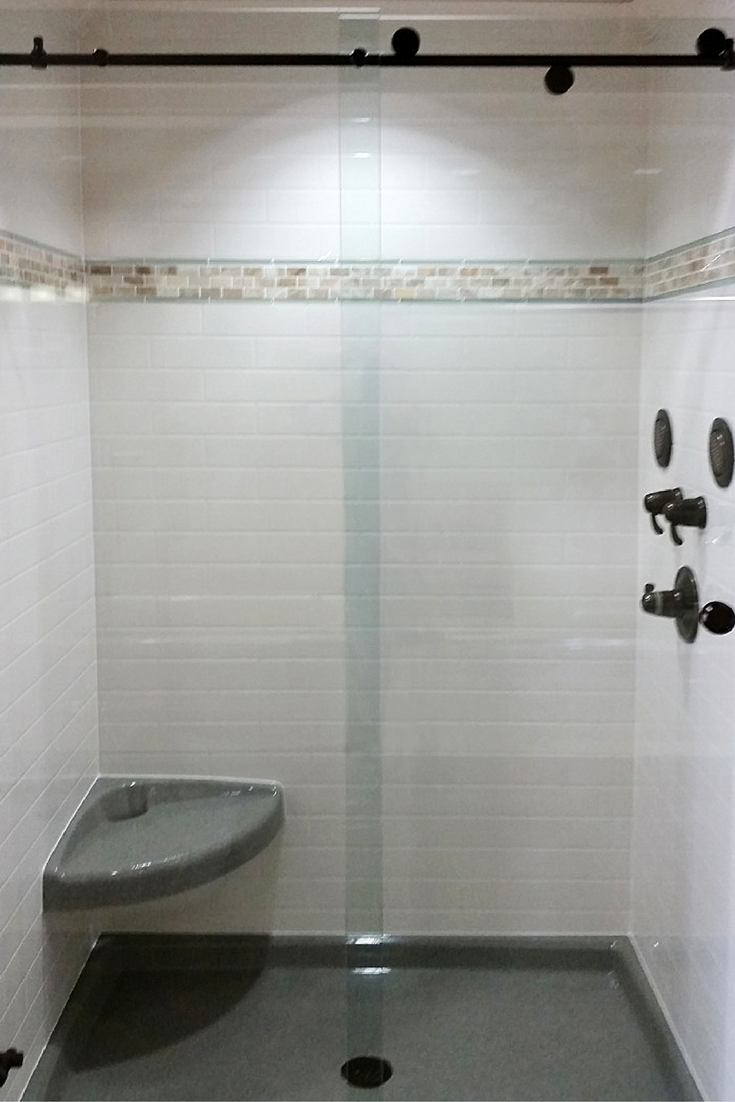
As men, we really don’t know the challenge of shaving in the shower – but our ladies do! Add a feature or two just for her – you’ll be glad you did!
Conclusion
Installing a DIY shower kit should be done like the Boy Scout’s motto – “be prepared in mind and body to do you duty.” While your body might not be as ready today as it was as a kid, your mind can and should be sharper. When it comes to your home improvement projects you’re now a DIY veteran! When doing a shower project remember to use this 8-part DIY shower checklist so you won’t be unprepared and caught with your remodeling pants down.
____________________________________________________________________________________________________________________
If you want need advice or are looking to purchase a DIY shower kit contact Innovate Building Solutions at 877-668-5888. We’ve got actual full time people (although they don’t wear cool orange smocks!) and installation videos to help you with this even 6 months after you might have bought something from us.
If this all sounds like too much work for you and would prefer to hire a professional call Cleveland Design and Remodeling in Cleveland (216-658-1270) or The Bath Doctor in Columbus (614-252-7294).
If you’re a remodeler or builder and want practical advice on remodeling products, industry trends, marketing and sales tips to grow your business (and cut day to day hassles), start reading my newest blog – Innovate Builders Blog. It’s packed with ideas you can use now. Click here to Sign Up for the Innovate Builders Blog.
If you’re in the building business, click here if you’d like to learn how to become a shower wall panel dealer or call and ask for Mike at 877-668-5888.
Connect with the author on Twitter @Mike_Foti or his company @InnovateBuild
