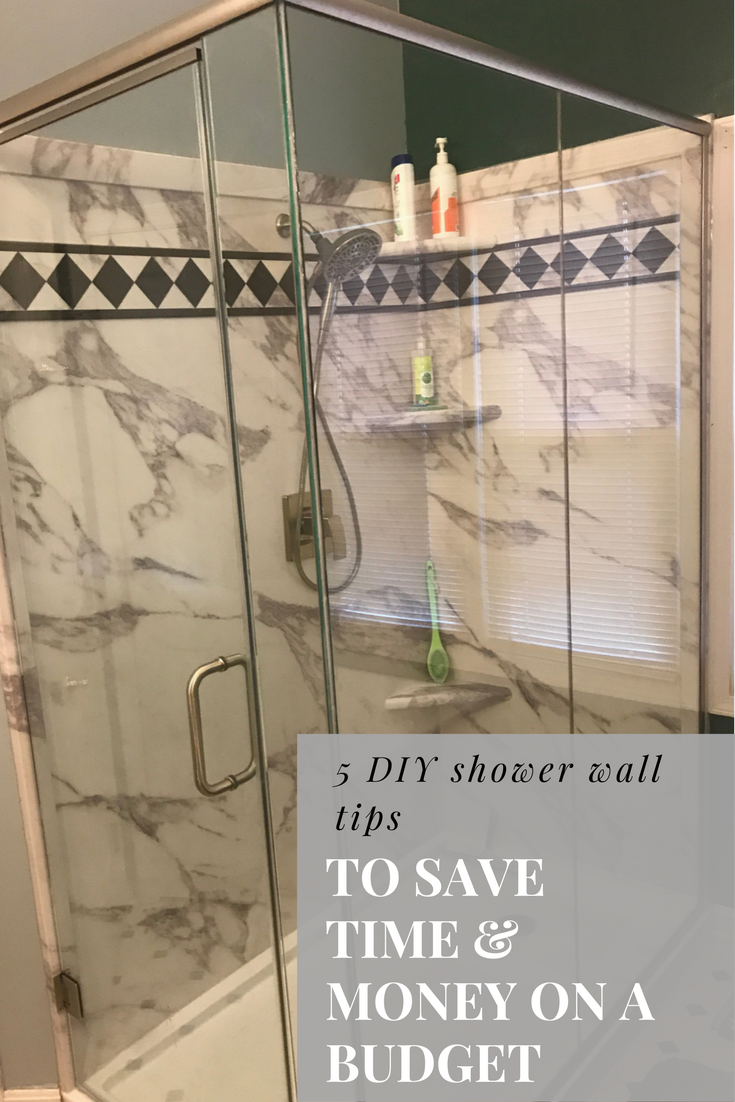
5 DIY shower wall tips save you time, money (and aggravation) on a budget
Updated March 9, 2019
Have you ever worked on a DIY shower project and realized (or your wife, husband or significant “utter” made you realize) you really screwed up? You watched the money get used up, and your aggravation made you want to throw up, when these errors occurred:
- You tore out the old shower system, then measured and figured out you bought the wrong size shower kit.
- You started using your new shower and determined you didn’t have enough space for soap and shampoo. Then you had to go out and buy a hideous, tacky, plastic “shower tree” to hang over the shower head.
- You have to rip up the work you already completed because you installed the project in the wrong order.
- The guy/gal you “worked with” at the store (who wasn’t helpful in the first place) is nowhere to be found (even after 4 desperate calls to the department in his store) to help you. You’re elbows and knee-deep in the job and can’t continue until you get an answer to your questions. The dude you know as “Bob W. in plumbing” is nowhere to be found.
DIY shower projects can be a pain in the butt!
The question becomes how can you save money doing a shower wall project yourself and live to tell about it without punching your walls in frustration? With the challenge of finding contractors– you need to know how to do projects yourself and still feel good about the end result (and meeting your budget).
Instead of going into this shower project blind now and getting ticked off later, you need to get “tipped off” now (read and learn tips which save you time and money) so you can sit back and enjoy your success (and relaxing shower) later.
I’ve seen (and heard) the frustration of many a DIY’er in my days. My goal in this article is to dish up 5 practical tips about shower wall panels (and the materials surrounding these panels) to save you time, money and aggravation. Let’s check out the 5 tips.
Shower wall tip #1 – Buying really cheap shower wall materials is a bad idea
In most cases if you buy crap…. well…. you usually get crap. Sure, you can purchase an FRP (fiberglass reinforced plastic – it even sounds low quality) 48” x 96” sheet at the big box store for $24.97 in all its .090 (wafer thin) glory. At the end what do you have? A wall panel which is too small for your shower (a large percentage of showers need at least one rear wall wider than 48”). A wall panel system which you’ll need to find some trim pieces which look OK for the finished edges. A finished product which looks as good as what you’ve invested in it.
If you want a nice (but not too pricey) shower wall panel system look at decorative ¼” thick PVC composite panels or even 3/8” thick laminated shower wall system. In many cases they are not as expensive as you might think (although a cheap tile system you self-install may still be cheaper).
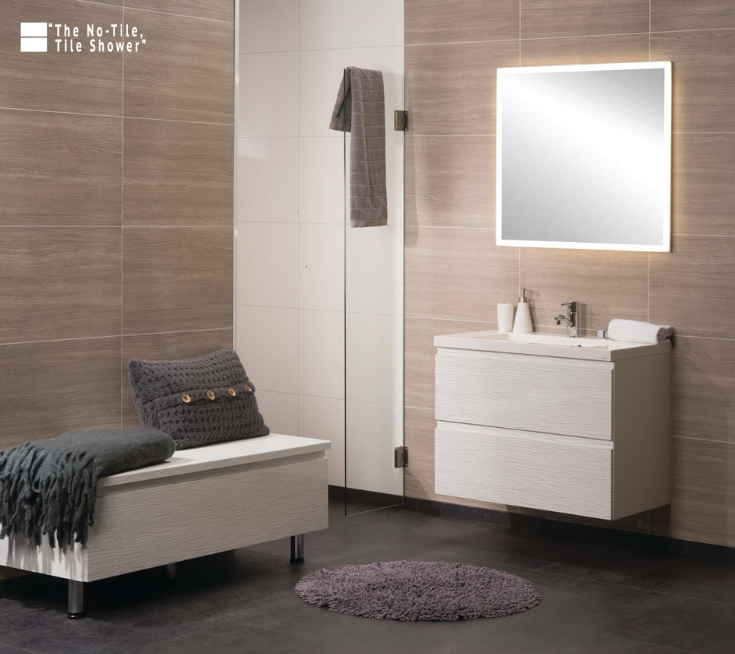
Conclusion #1 – If the shower wall panel prices look too good to be true – they probably are.
Shower wall tip #2 – If you can’t find a stud (or a good-looking family member) to help you– you can at least save money by measuring stud to stud.

It can be helpful to get family members to help with a DIY shower wall project (shower wall panels and bases are simpler to do with assistance), but nothing will save you if you don’t (as they say) measure twice so you can order once. A common mistake I see with DIY jobs is owners think they need a custom sized shower kit – when they don’t. The reason is they are taking the wrong measurements.
To get the right size for your shower kit the correct measurement is from stud to stud. Now – I know you can’t get this until the spaced is torn apart – but you can at least estimate it (usually with a high degree of certainty). For example, if you have a standard sized tub you’re looking to convert to a shower you’ll likely have a measurement (inside your old dirty tile) of about 58” to 58 ½”. This project (after the tile and backer board is gone – is a 60” system.
Conclusion #2 – Before you buy a custom-sized shower panel kit explain to your vendor where you are getting your measurements from. Maybe a standard kit will work.
Shower wall tip #3 – Don’t think only about how it looks today, picture yourself (or your angry significant other) cleaning this doggone thing tomorrow
I love the look of beautiful new tile shower in a custom builder’s model home. But let’s get real. If you’re not the one cleaning tile wall grout joints (or even crazier yet – the ceiling) is a tile shower what you want to put yourself through – week after week, year after year?
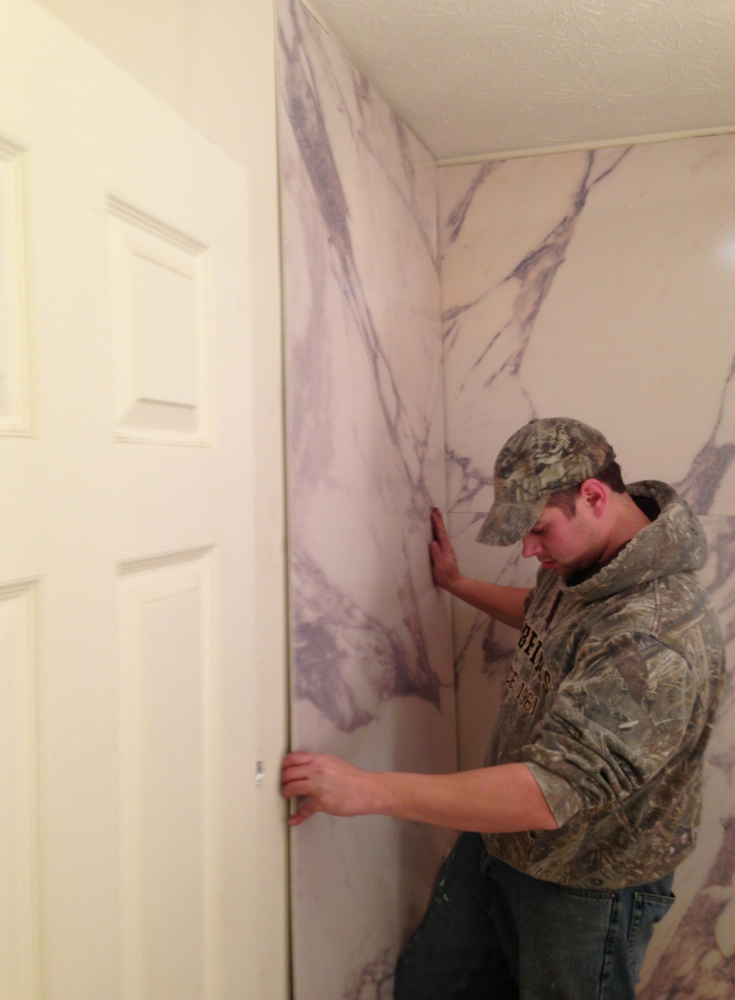
Will a decent (see shower wall tip #1 for what’s I’d call not decent) shower wall panel system cost you more in the short run. Probably. Is it worth it in to cut your time and aggravation in the long-run? Usually. If you’re looking to sell this home in the next year – then put in cheaper tile because it won’t be your cleaning cross to bear. If not, take a close look at grout free shower wall panels ( cultured stone and a laminate system are pictured below).
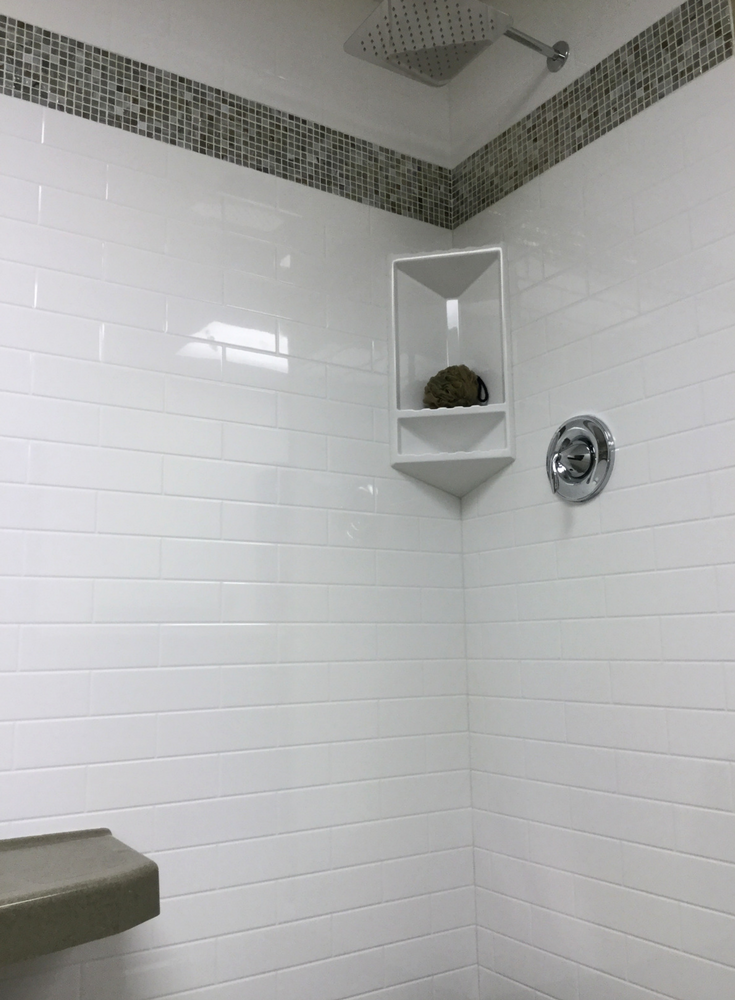
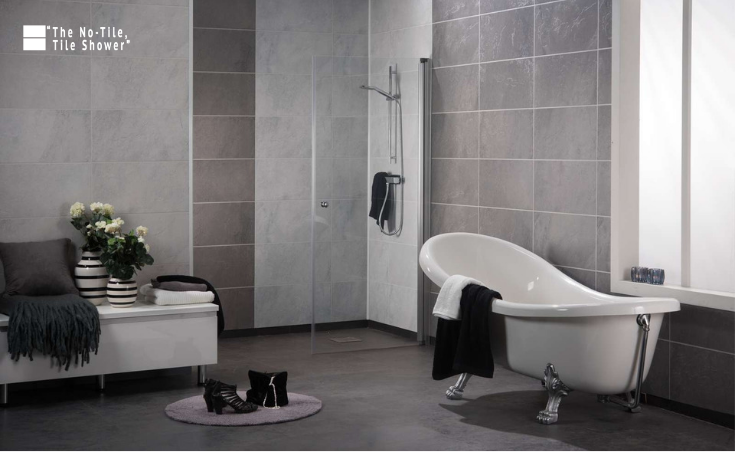
Conclusion #3 – Don’t underestimate the hassle of cleaning your shower when choosing a shower wall system. Know how long you want to stay in this home to lead you to the right shower wall selection decision.
Shower wall tip #4 – You’ll have less missteps and save money if you know the proper steps BEFORE doing anything
Many times, when people call to inquire about shower wall panels and base systems they’ll begin by telling me, “Mike – I have the project demoed and my cement board is up. Now, I need to get my walls and a shower pan.” I know immediately they have wasted some money. Not necessarily because they bought the wrong products – but because they are doing the job in the wrong order (note: the wall backer board should be installed before the shower pan goes in). What’s worse is a shower remodeling project done in the wrong sequence can lead to water finding it’s way underneath the shower pan. That will become a total disaster.
You’ll save time and save money – when you do the job in the correct order. Here is the simplified sequence of shower remodeling steps you need to follow.
- Step 1 – Demo the old shower or tub out.
- Step 2 – Set your shower base and install your value and drain assembly.
- Step 3 – Install a wall backer system for your tile or grout free shower wall system.
- Step 4 – Install your tile shower or wall panels to the backer board.
- Step 5 – Hook up your plumbing fixtures and install your shower glass or curtain.
- Step 6 (the most important one) – Enjoy the shower.
Conclusion 4 – Having a game-plan and knowing the steps up front will save you money and aggravation of pulling products down (or worse yet) tearing out an entire shower system which leaks down the road.
Shower wall tip #5 – Don’t deal with Bob H. or Susie W. in the plumbing department (or anyone who lacks patience and won’t give you their personal cell phone number).
Have you ever done a DIY remodeling project and realized you were a pain in the butt to deal with. You had question after question after question. You even apologized to the guy/gal on the other end of the phone (or in the store) for your HUMONGOUS list of questions.
You need to be able to “ask away” – without the fear of someone on the other end wanting to blow you up. To successfully install a DIY shower remodeling project you will need help and input (before and during the project).
This is why I say don’t deal with “Bob H.” or “Susie W.” in the plumbing department (you know Bob and Susie – they are the not very knowledgeable people who have no vested interest in your project). Now – I don’t have anything against Bob H or Susie W. It’s just that you need to know you can call this person (directly) and get answers to your “in the moment” installation problems. If you just buy the stuff and can’t get a hold of Bob H or Susie W (or they are so frustrated with you already they simply blow you off) you’re going to have a problem.

Here’s what I recommend. When you’re calling to get input on your DIY shower project see if the person on the other end of the phone will give you their first and last names and cell phone number. Are they patient with you? If not – I suggest simply not buying from them or their company. If they aren’t helpful during the sales process, they darn well won’t be helpful when the DIY remodeling crap hits the fan.
Conclusion #5 – Buy your DIY products from patient people who will give you their first and last names and personal cell phone numbers.
Wrapping things up
The DIY shower journey is not a simple road. If I can impress one thing to you I would say before demoing and buying products, don’t be afraid to take more time planning, researching and envisioning what the future living with this shower will look like. You use the shower every single day. You not only want to be mindful of your budget today – but you want to be thoughtful about your maintenance time and eliminate future expenses.
How can I (or my team) help you?
If you need assistance with a shower remodeling project me and my team will be glad to help. You won’t have to call the “generic” Bob H. or Susie W. You can call me. I’m Mike Foti or if you don’t want to deal with my wacky personality, I’ve got staff members who can help you.
Give us a call for nationwide advice and shower product supply at 877-668-5888. For a Cleveland bathroom remodeling project contact Cleveland Design and Remodeling at 216-658-1270 or The Bath Doctor in Columbus at 614-252-3242.
If you’re a remodeler or builder and want practical advice on remodeling products, industry trends, marketing and sales tips to grow your business (and cut day to day hassles), start reading my newest blog – Innovate Builders Blog. It’s packed with ideas you can use now. Click here to Sign Up for the Innovate Builders Blog.
If you’re in the building business, click here if you’d like to learn how to become a shower wall panel dealer or call and ask for Mike at 877-668-5888.
Follow me on Twitter @Mike_Foti or my companies @InnovateBuild or @InnovateHomeOrg.





Mike Foti
Nancy – for the wall panels I would recommend the laminate or PVC panels (and I’ve included links below). They are moderately priced – but very sharp lines. Regarding the flooring I would need to see a rough drawing of the space you have to determine if you could ‘get away with’ a standard pan (which will cost less) or if you’d like a custom pan. If you could reach out to our company at the forms below for a free design consultation we could see your dimensions and do a more thorough job with our recommendations for you. Thanks for reading and here’s links to the web pages and ‘free design consult’ forms for you: – Mike. (also feel free to call us at 877-668-5888) if we can help on a phone call.
https://innovatebuildingsolutions.com/products/bathrooms/laminated-diy-shower-bathroom-wall-panels
https://innovatebuildingsolutions.com/products/bathrooms/diy-interior-shower-tub-wall-panels
https://innovatebuildingsolutions.com/contact-us/free-consultation-estimates
Nancy Doty
I am in need of advice. I am building a shower from scratch. I am having to use a step up for my shower floor due to plumbing and the owner of the house doesn’t want the pipes ran under the floor. So I have made a 3.5″ step in for the shower… but I ha e no idea on what to use for the flooring part since it is a step up and what would work best for the floor and the walls. I do not want tile, and on a budget.
Please help if possible.
Mike Foti
Rob – you are correct – waterproofing a shower is extremely important. There is nothing as bad as leaks! Thanks for sharing. Mike
Designer Drains
All great tips! Would love to share this content with our followers. Another important tip is to make sure the waterproofing is done correctly.
Mike Foti
We supplied a solid surface low profile pan to a guy who used the metal roofing for the shower panels and it looked very cool and industrial. I have no experience with the cleaning of these metal roofing panels though. I would think they would be OK since they are used in roofing which obviously get moisture on them – but unfortunately I have no personal experience with this. If you want to talk more about this feel free to give us a call. Mike
Lisa Martin
Zero-entry, cement-floor shower with metal roofing used for shower panels… Any thoughts about that?
Since you mentioned nasty cleaning in this email blast, I decided to ask what you think about what I think I may do for my new bathroom.