Open Design Bath Remodel in Cleveland Inspired by San Diego Hotel
This wet room bathroom can also be enjoyed by Lucy …the dog!
Updated January 12, 2019
It’s easy to see how a beachfront hotel in San Diego California can be inspirational to a couple from Cleveland Ohio – sand, sunlight and warm temperatures can be a welcoming environment for someone from Northeastern Ohio. While Robin and Pat Baranack (a couple from the Cleveland suburb of North Royalton) were inspired by the outdoor experience on their west coast trip – they were equally as impressed by the inside of their hotel bathroom which featured a clean, contemporary and open design. As Pat said, “When we got back from our San Diego trip my 3’ x 3’ phone booth sized shower felt even smaller, our single sink vanity more limiting and our 1980’s style soaking tub in our master bathroom seemed even less functional than before.”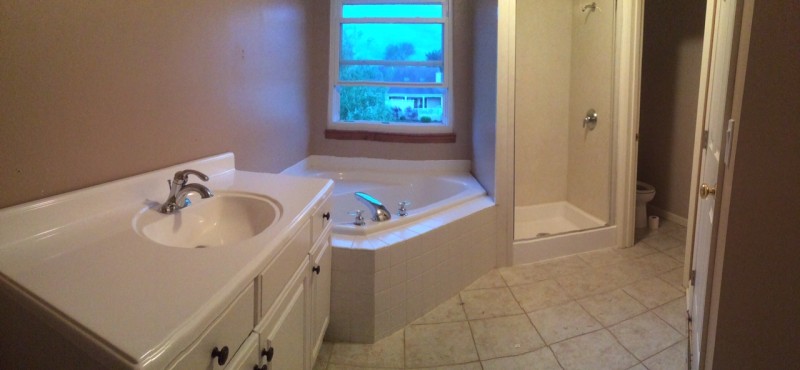
The time had come to take the inspiration from the La Jolla California hotel and reinvigorate and remodel their North Royalton master bathroom to capture this sunny West Coast feeling and functionality. In the article below I’ll look at how Pat and Robin (along with the design and construction team of Cleveland Design and Remodeling) used a combination of thoughtful product selections and hidden construction features to create a master bathroom which is built to not only endure the test of time, but is exciting to use on a daily basis as well (it is so fun you can see “Lucy” the family dog smiling about it from ear to ear in the picture above!).
Matching Product Selection to Project Goals
It’s certainly my belief if you want a design concept to come to life thoughtful product selection is a must. Here’s how Robin and Pat’s three bathroom remodeling goals were met with a careful focus on the right product.
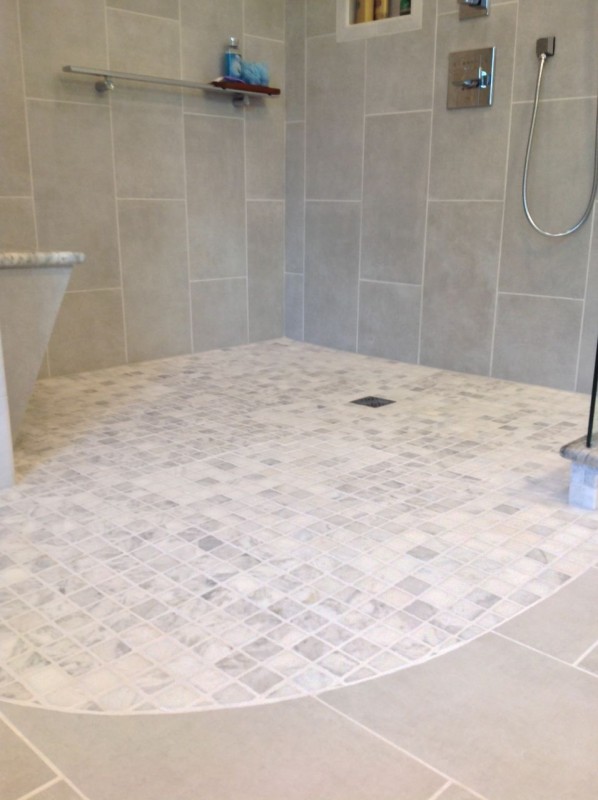
• Goal 1 – A larger open one level walk in shower – A one level bathroom and shower can be as sleek as it is safe. Jeff Merrell (lead designer with Cleveland Design and Remodeling) recommended a Tuff Form shower base former (which is set directly on the joists to create a sloped wet area without changing the height of the rest of the floor) and waterproofing kit to make the one level shower floor a reality.
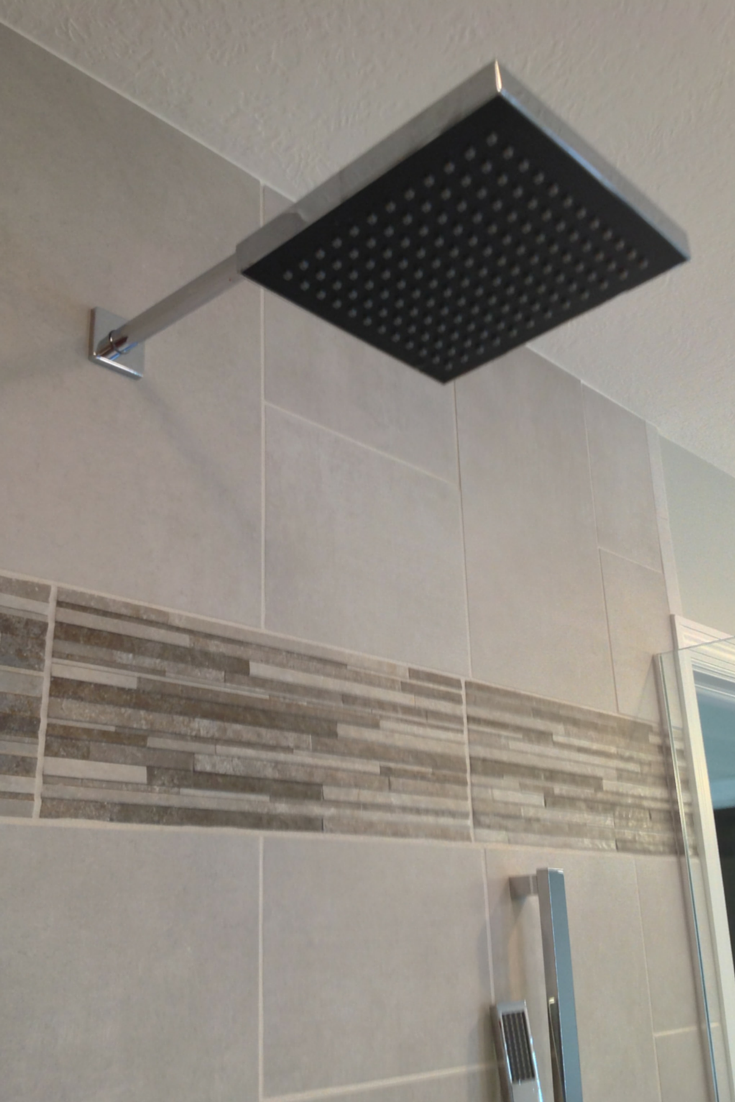
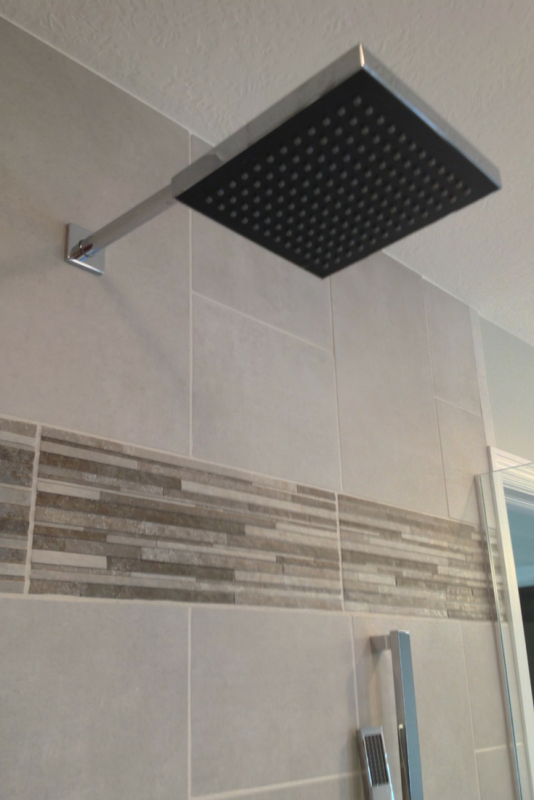
To keep the water inside the wet area a Delta Monitor 14 rain head and a small frameless glass shower wall was used.
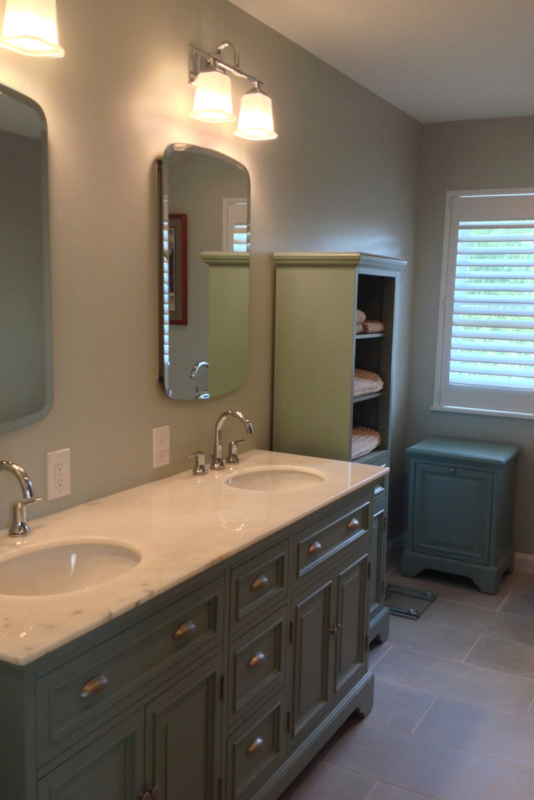
• Goal 2 – Maximize storage while adding style – Since the space needed to make a larger shower was gained by eliminating one of the two walk in closets (where towels and additional bath products used to be stored) it was critical to add storage in the bathroom area itself. Three antique blue furniture grade pieces were selected from Signature Hardware’s “Sadie” collection. They included a double bowl vanity, a shelving unit and a laundry bin.
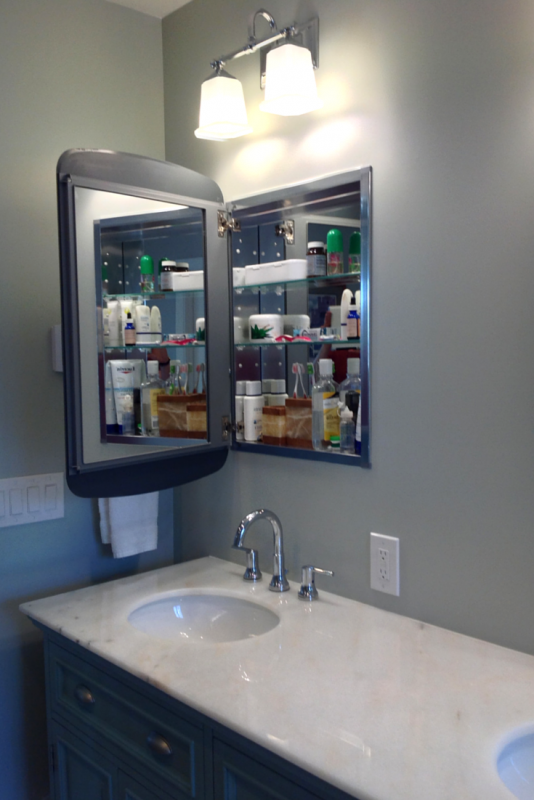
Secondly- above the sink mirrored medicine cabinets provide a hidden storage compartment.
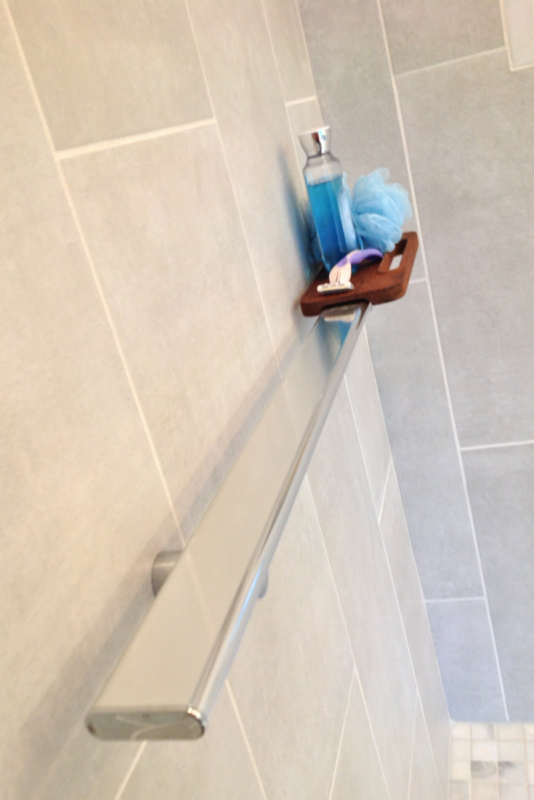
Lastly in the shower the recessed niche and shower barre (a new product made by Kohler) provide stylish, yet functional storage space.
• Goal 3 – A contemporary design which is easy to maintain – Master bathrooms should be enjoyed more and need to be maintained less. Two contemporary products were used to achieve this goal.
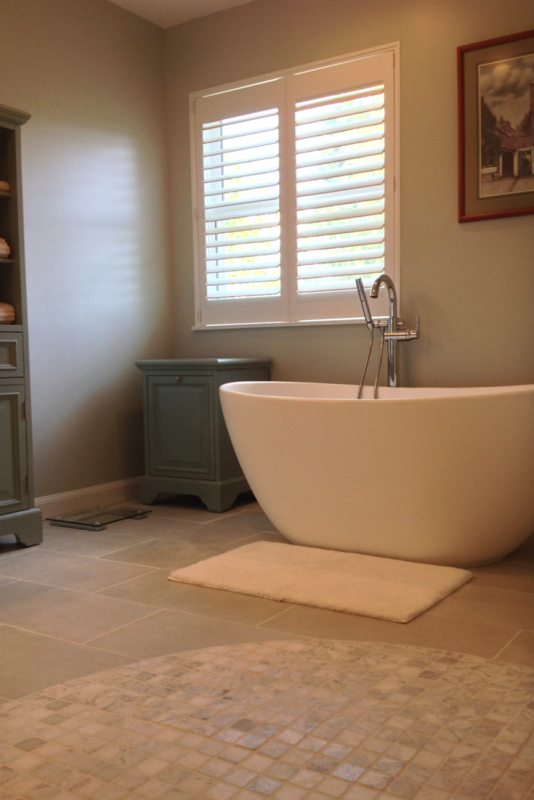
First, the old space-eating stationary soaking tub was eliminated and replaced with a modern resin free standing tub they purchased from HomeDecorators.com. Yes – it took 4 strong guys to move this 310 lb. tub to the second floor, but it is so simple to maintain that Robin can even use Magic Eraser to remove wet nail polish from the tub.
Second, large format tiles were installed on the floor and walls of the shower. Larger tiles means less grout to clean.
Hidden Construction Features
In remodeling it’s often now what you see – but what you don’t see behind the walls, and in little known spaces which turn an ordinary project into an extraordinary bathroom which lasts. Here’s 3 hidden features where strategic product selection, craftsmanship, on site problem solving are making a difference in Pat and Robin’s bathroom.
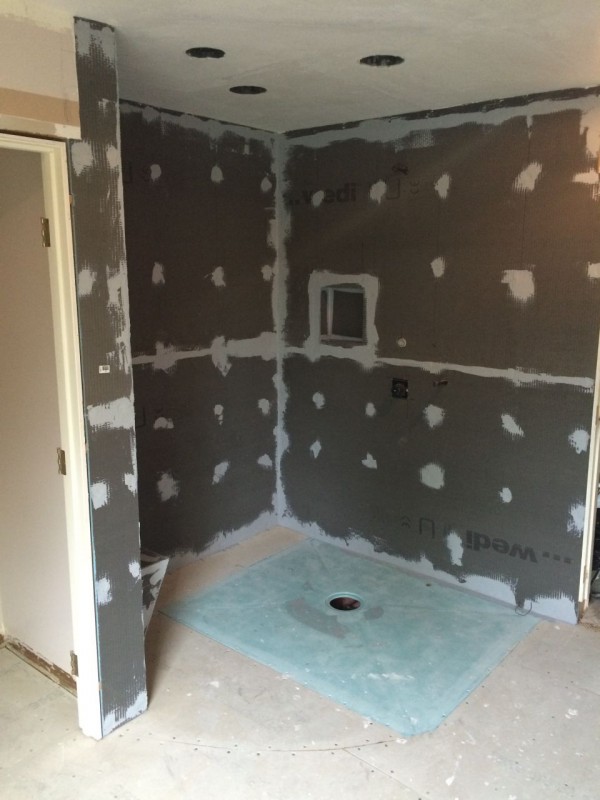
• Hidden feature #1 – Waterproof wall backer board – It’s not a sexy feature anyone sees but behind the tile walls is a 100% waterproof Wedi extruded polystyrene wall backer board system which eliminates future concerns of water or mold problems.
• Somewhat hidden feature #2 Bathroom ceiling – Who really looks up at the bathroom ceiling? Not too many people, but when you removing old walls you want to make the new ceiling look like it’s been one continuous space forever. This process requires not only skill but a bit of artistry as well. Check out the finished work of John Fronek (Site Project Manager) in the image below.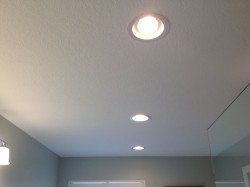
• Hidden feature #3 – Custom metal ductwork – As Pat said, “We just couldn’t figure out why in the old bathroom it seemed overly cold in the winter and overly warm in the summer – the mechanical system just didn’t seem to be working right.” When the crew removed the old vanity the answer to this dilemma was obvious – one half of the old registered was covered by the old vanity. John suggested (and custom fabricated) a specially designed metal piece which directs heat and air from underneath the new cabinet to the bathroom floor. This is truly an example of on-site problem solving.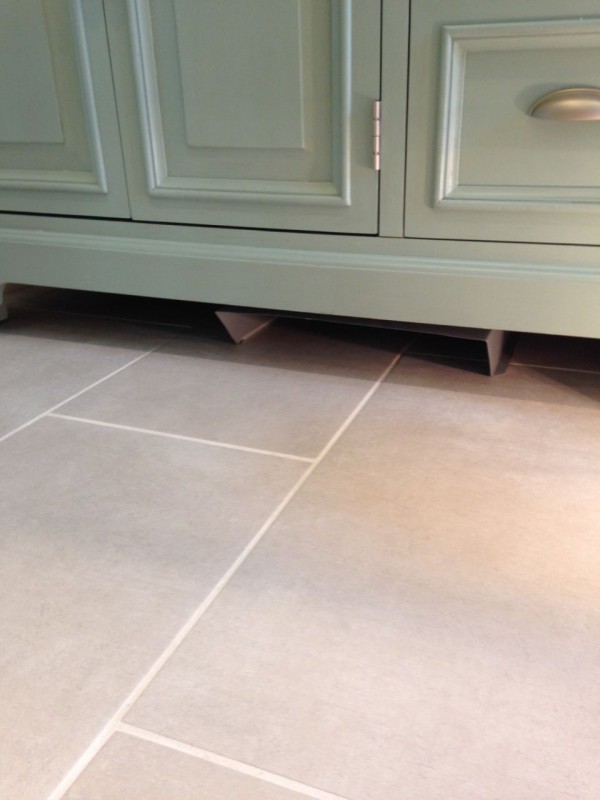
Conclusion
What do you think of Pat and Robin’s West Coast inspired master bath remodeling project? Do you have a favorite product, a favorite feature or question? Please comment or call Cleveland Design and Remodeling at the numbers below.
Call Cleveland Design & Remodeling (216-658-1270) for more information or an estimate on bathroom, kitchen or basement remodeling. If you’re interested in nationwide wholesale for a wet room system call Innovate Building Solutions (877-668-5888).
If you’re a remodeler or builder and want practical advice on remodeling products, industry trends, marketing and sales tips to grow your business (and cut day to day hassles), start reading my newest blog – Innovate Builders Blog. It’s packed with ideas you can use now. Click here to Sign Up for the Innovate Builders Blog.





Mike Foti
Beth – when you’re dealing with one level wet room systems it’s different from when you buy a ‘traditional shower pan’ – when the base is the entire size of the shower enclosure. With a one level wet room there is a ‘shower base former’ which ‘forms’ the slope of the main wet area and then you bring your cement board (or tile underlayment) up to the base former and the entire bathroom floor is waterproofed. In the case of a your 7′ x 7′ shower area I would recommend the largest base former which is about 59″ x 47″. This ‘wet room’ shower kit also comes with waterproofing for 80 to 100 square feet of floor space. Feel free to call us at 877-668-5888 for more information. I’ll also include a link to the web page on this product for your reference – https://innovatebuildingsolutions.com/products/bathrooms/roll-in-handicapped-shower
Beth Speights
So I see from a previous answer that the shower area is about 6’X 6’, but that does not appear to be the size of the shower pan. We are building (DIY) and wet room design with free standing tub and shower in a 7’X7’ area. What would the recommendation be for a shower pan for this size area? Tub will be to the back wall with shower area entered first. 4’ pony wall is planned to the entry side to help with water, and linear drain system planned for the mid floor area between shower and tub.
Mike Foti
Jen – it’s been a while since we did this installation and I believe our customer picked up their own tile on this one. Sorry I couldn’t help out. Mike
Jen Amador
Can you tell me what the name of the shower floor tiles are, both the small ones, and the 12×24 ones?? Thank you!
Mike Foti
This shower is about 6′ x 6′. Let us know if we can help further. Mike
k.rak
How big is the shower in this photo and the size of the overall bathroom too. Thank you!