3 Steps to Add Trim and Borders to DIY Shower Wall Panels
Updated January 26, 2019
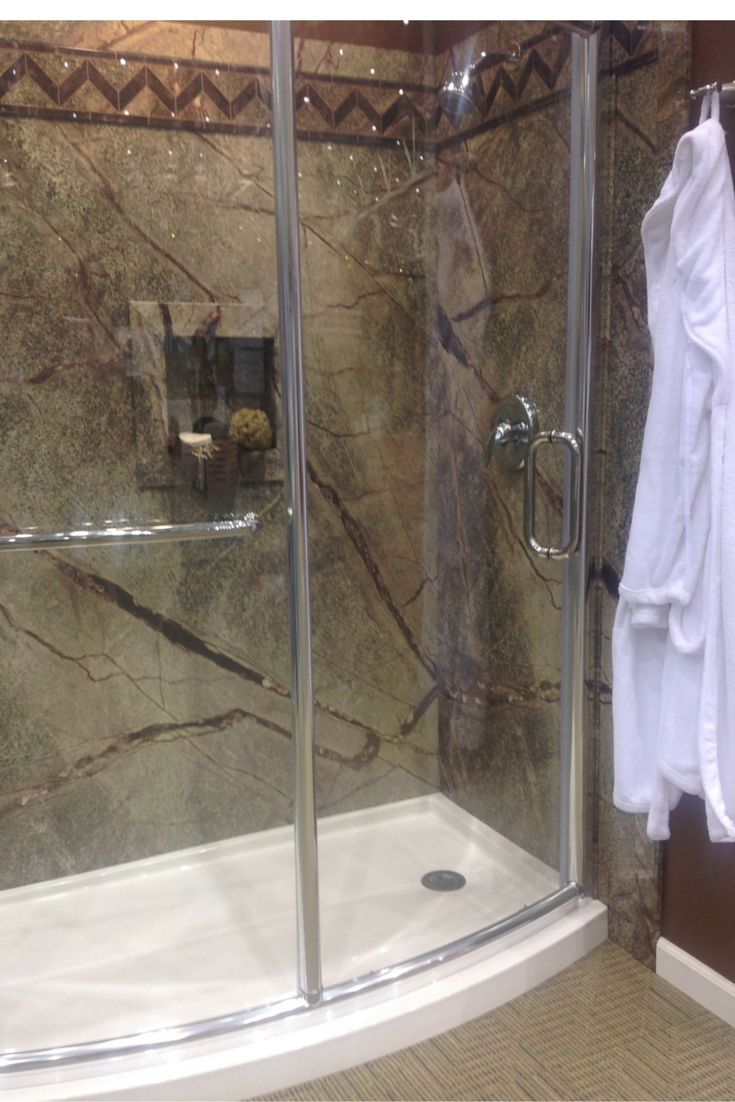
So you’ve decided you’ve had it with cleaning the grout of your tile shower or don’t like how flimsy your builder-grade fiberglass surround is and want to upgrade to a decorative shower wall system you can install yourself. What’s nice with today’s product offerings is you don’t have to sacrifice style with a DIY shower panel installation (you can finally go beyond the plain boring white smooth panels). The classic, fun and decorative affects you find in tile (like border and accents) or even wood (crown molding and wainscoting) can now be added in durable and easy to install shower and tub wall panels.
The challenge is choosing the best system which will provide you with the look, functionality and price which fits your budget. Below I’ll look at 3 steps to guide you through this process (note: in this article I’ll focus on 3 system I’ve found are the easiest for DIY owners to work with (1) PVC composite system which looks like natural stone (2) solid surface panels and (3) a luxury Serica composite wall material.
Step 1 – Identify why you want shower trims, accents and borders
Before you can determine where you want to add trims or borders, or what the best wall panel system is for you – you need to first step back and ask why. Why do I need or want this trim or border material for my tub or shower anyway? Here’s 3 of the most common reasons why people add trim or borders:
1. Continuity – Matching countertops, moldings and trim in the bathroom with your shower or tub enclosure can visually bring the space together (note the stone solid surface material can be a good selection to accomplish this objective since there are counters and moldings available to match).
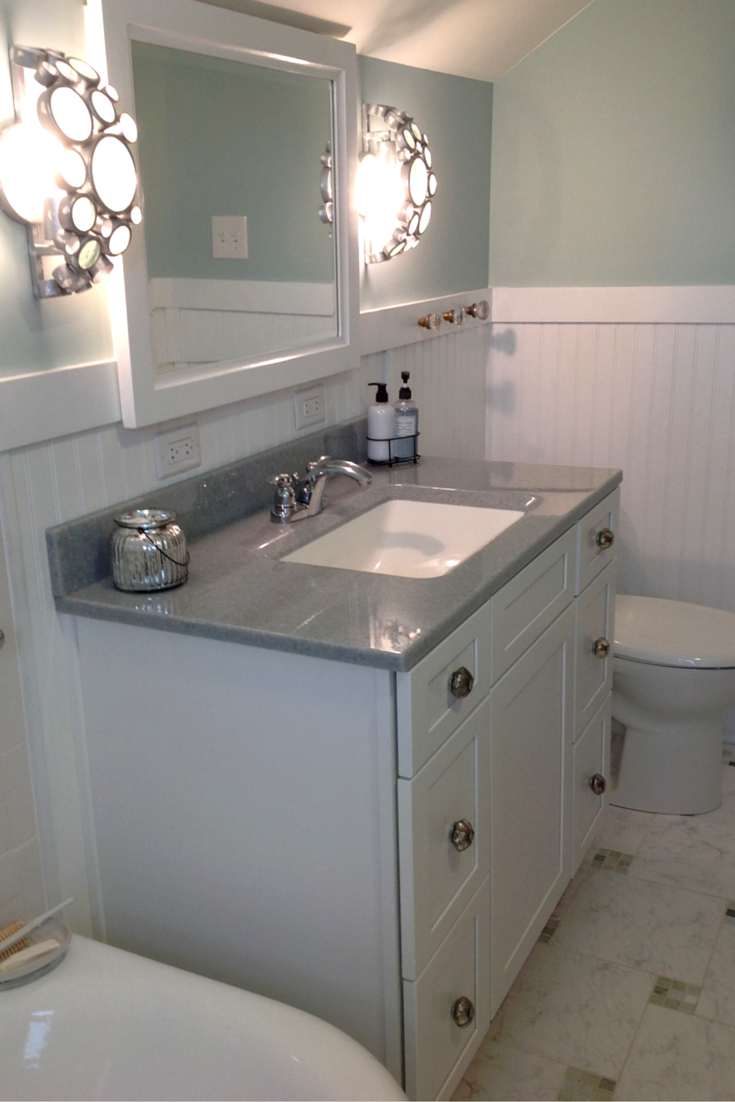
2. Color scheme – Borders can be coordinated with colors in the bathroom to develop a consistent look.
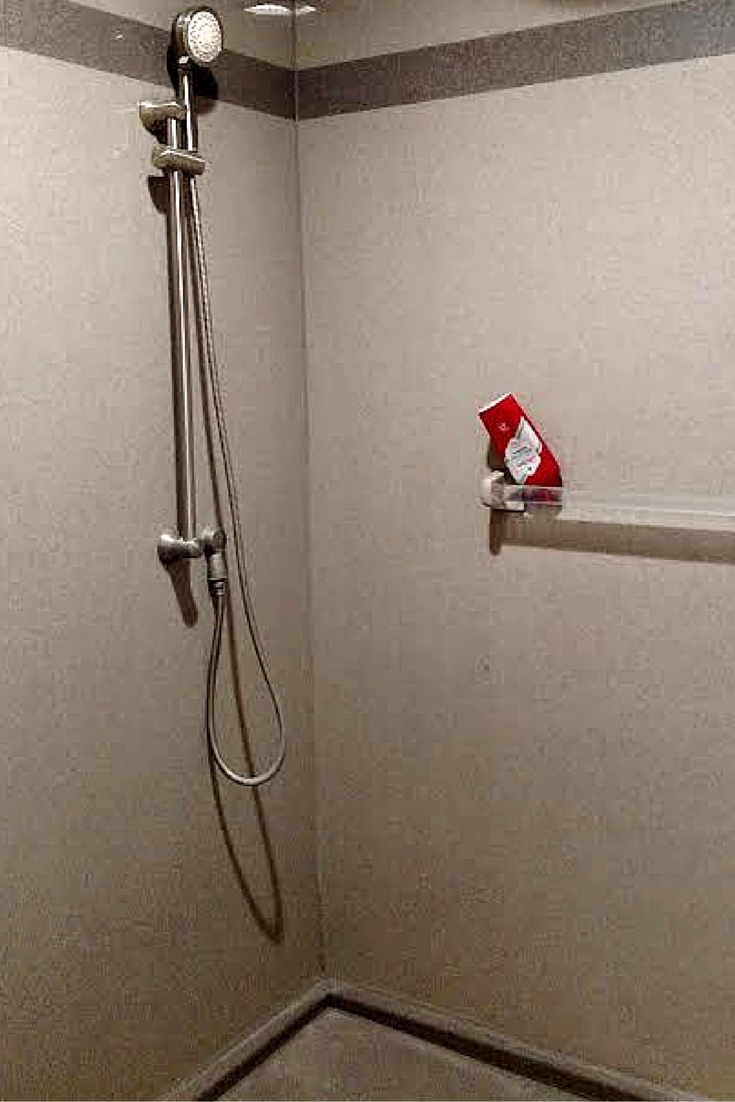
3. Waterproofing – Applications like corner trim or a decorative piece at a horizontal panel seam can provide the dual benefit of a distinctive look and provide an additional layer or water protections at the corners or seams.
Step 2 – Determine where you want to use shower trims, accents and borders
Now that you’re convinced you want to add trims, accents or borders the question becomes where is the best place to use them? Popular applications include:
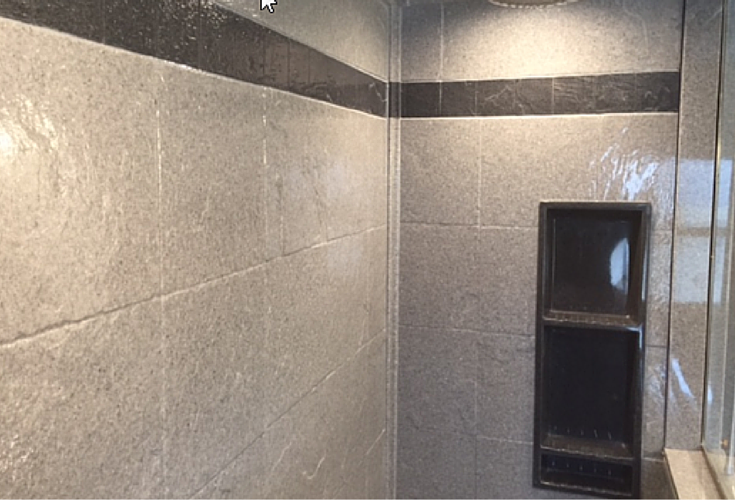
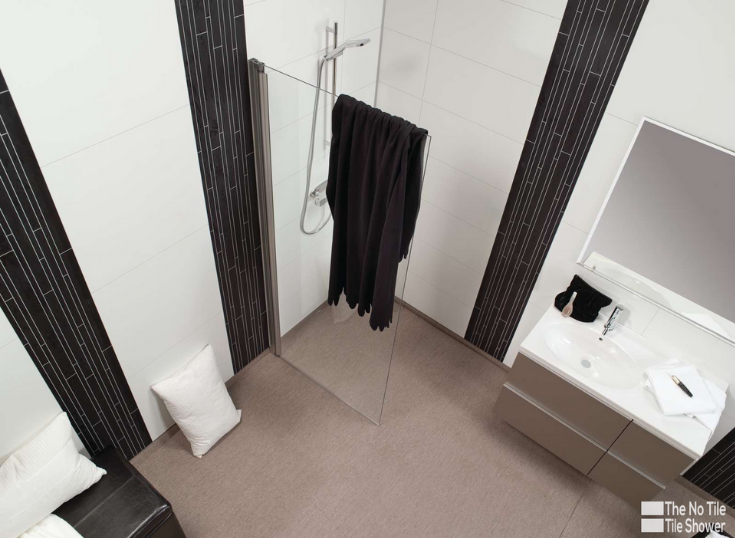
• Stripes or borders – This is the most common decorative choice. Depending on which wall panel you choose this border can be smooth like a stone or have the appearance of tile (without the actual grout joints).
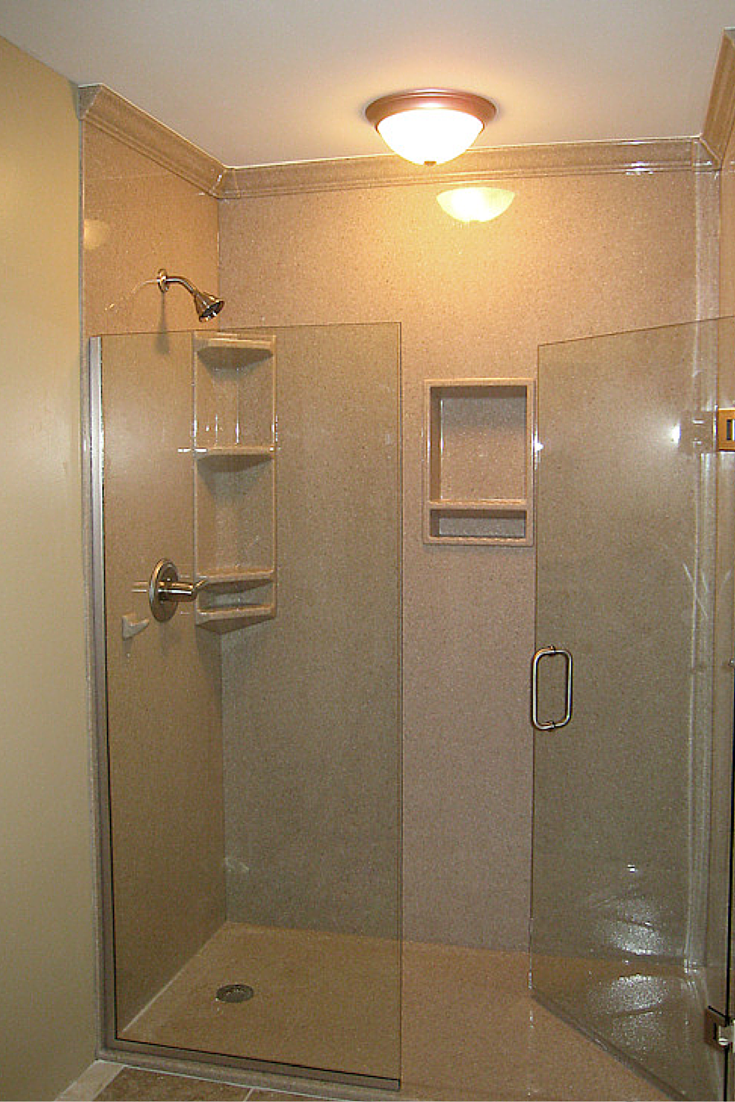
• Crown molding – A nice feature for a traditional home. The crown molding is only available in the stone solid surface line.
• Edge trims – This trim provides the sophisticated look on the outside and top edges of the panels. With the PVC backed composite wall panels the edge trim is actually standard in the DIY shower kits.
• Corner trim – This trim is placed on the inside corners between panels and is chosen for it’s ability to provide additional water protection or to just create a more finished look.
Step 3 – Choose your best DIY shower wall panel system
First I will tell you there is no one wall system which is the best. To make a wall panel system selection I would recommend to talk to a company which sells multiple systems to compare and contrast the various options. Here is a simplified guide to the 3 top systems for a DIY shower or tub wall installation:
• For traditional spaces – The wall system used the most frequently with classic spaces is the stone solid surface line. This offering is available in stone and tile looks and has traditional options like crown molding and decorative rope trim.
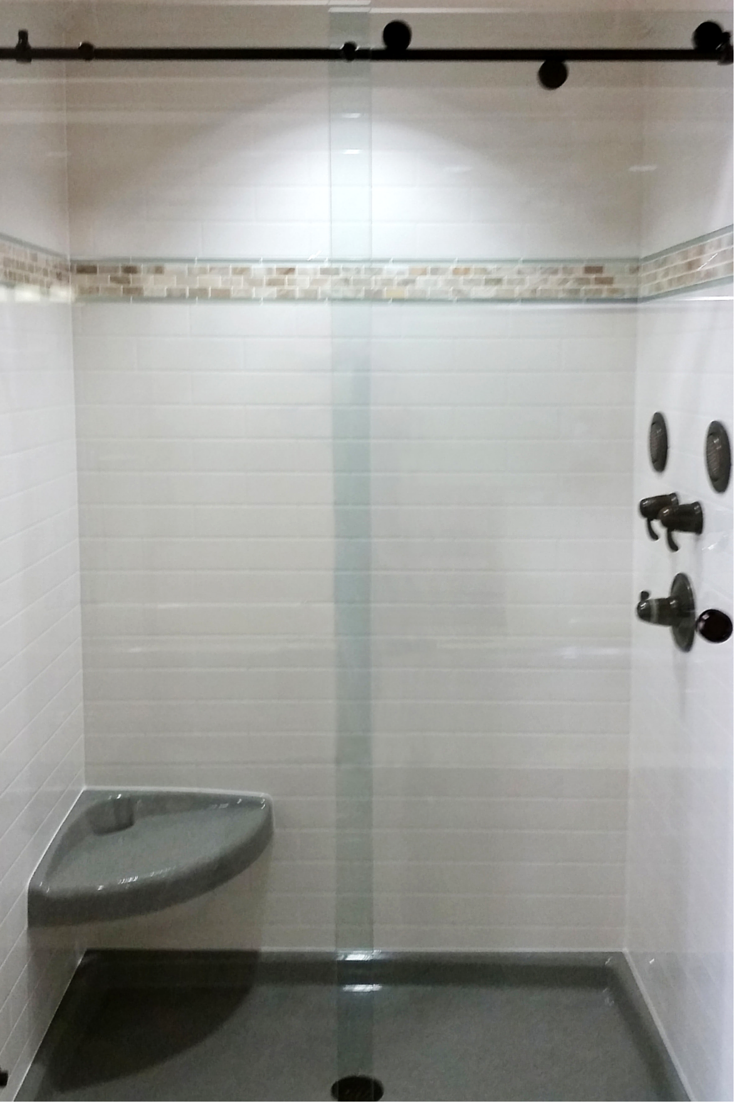
• For a contemporary look – The laminated shower wall panel line has the clean lines associated with today’s bathroom designs. The textured accents in this line provide a fun and interesting look as well.
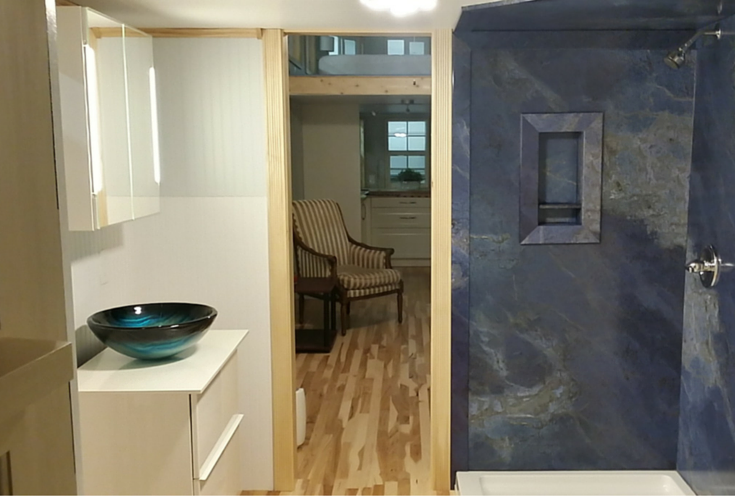
• For the lowest priced option – The decorative PVC backed composite wall panel kits look like natural stone – but are also very cost effective to purchase and simple to install.
What questions or comments do you have about trims and borders for DIY shower and tub wall panels? Comment or call the numbers below for pricing, design information or free samples of these product lines.
If you’re looking for more information or an estimate on remodeling a shower or nationwide material supply for the various wall panels and shower bases mentioned above call The Bath Doctor in Cleveland (216-531-6085), Columbus (614-252-7294) or for nationwide supply Innovate Building Solutions (877-668-5888).
If you’re a remodeler or builder and want practical advice on remodeling products, industry trends, marketing and sales tips to grow your business (and cut day to day hassles), start reading my newest blog – Innovate Builders Blog. It’s packed with ideas you can use now. Click here to Sign Up for the Innovate Builders Blog.
If you’re in the building business, click here if you’d like to learn how to become a shower wall panel dealer or call and ask for Mike at 877-668-5888.
Connect with the author on Twitter @Mike_Foti his company @InnovateBuild


Mike Foti
Amanda – I don’t see any reason you couldn’t substitute the trim pieces for the Flexstone walls – Mike
Amanda Weber
I really like the Flexstone shower insert, with the many styles to choose from. The only thing I am not crazy about is the trim pieces. I am hoping you can substitute differnt trim and not use these. Do you have any experience in substituting other trim, like the metal trim pieces that are used for tile? Any suggestions are welcome. Thanks
Mike Foti
Sheamela – thanks for your email. Since you’re unlikely to want to remove the larger tiles below the 1 1/2″ tiles at the top I have an idea for you. You could purchase some waterproof ‘trim’ pieces to go over the tiles at the top. These could either be made from solid surface or waterproof composite trim. Some are even made into the shape of crown molding. I’ll include a link to a page on our site where you’ll see these trims pieces (in a solid surface line). Hope this helps you – Mike (now here’s the link – https://innovatebuildingsolutions.com/product/solid-surface-bathroom-vanity-countertops-accessories/ – look on the ‘accessories’ tab of this web page)
Sheamela Persaud
I did some tile work in my stand up shower and there is a gap about half of an inch at the top.I cut small pieces and fill in BUT
Looks horrible.
Can you please advise how this can be rectified
Thanks
Mike Foti
Beth – I know our installation guys use denatured alcohol to remove stains in many cases. You may want to give that a try.
Beth
We took out a shower door that was installed 25 years ago. It left a yellow stain where the door frame was on the faux marble. The stain is embedded in the marble. We want to replace door with shower curtain but need a solution to the discoloration if marble. Any suggestions?
Mike Foti
Steve – yes you can buy direct from us the shower and tub wall panels. Feel free to call us at 877-668-5888. Mike
Steve ward
Hello,I’m remodeling a bathroom,this looks like a great alternative to tile! I took out a 60 inch tub not sure yet but thinking of going back with tub and a 3 piece surround or maybe eliminate tub and just have a large shower my question is do I buy direct from you I’m in Carlsbad New Mexico or do I go through retailer or contractor? Any info would be appreciated.Thanks Steve